 程序设计实验室
微信公众号
程序设计实验室
微信公众号

前言
Windows Defender 现在基本已经是过街老鼠人人喊打了,买新电脑或者重装系统后,第一件事就是关闭这个垃圾玩意。
这玩意的防护能力其实不差,但在开发环境里,经常会出现这些情况:
- 扫描大量源码、依赖和构建产物
- 占用磁盘 IO 和 CPU
- 误报一些开发工具、调试工具、KMS 工具
- 自动隔离文件
- 明明自己知道文件没问题,还得反复恢复
但这玩意现在越来越难以关闭了,除非安装一个正经杀毒软件,比如口碑比较好的火绒。
我之前一直不太想安装第三方杀毒软件,再轻量级的杀毒软件也用占用,我还是更喜欢干净的系统。
最近尝试使用 dnot.sh(defendnot) 替代 Windows Defender。
项目地址:
https://github.com/es3n1n/defendnot
dnot.sh 是什么?
项目地址: https://github.com/es3n1n/defendnot
dnot.sh 不是真正的杀毒软件。
它的核心原理是通过逆向 Windows Security Center,也就是 WSC 的相关接口,把自己注册成一个第三方杀毒软件。
正常情况下,当 Windows 检测到第三方杀毒软件后,Microsoft Defender 会退出主动防护模式。
安装完成后,在 Windows 安全中心里可以看到:
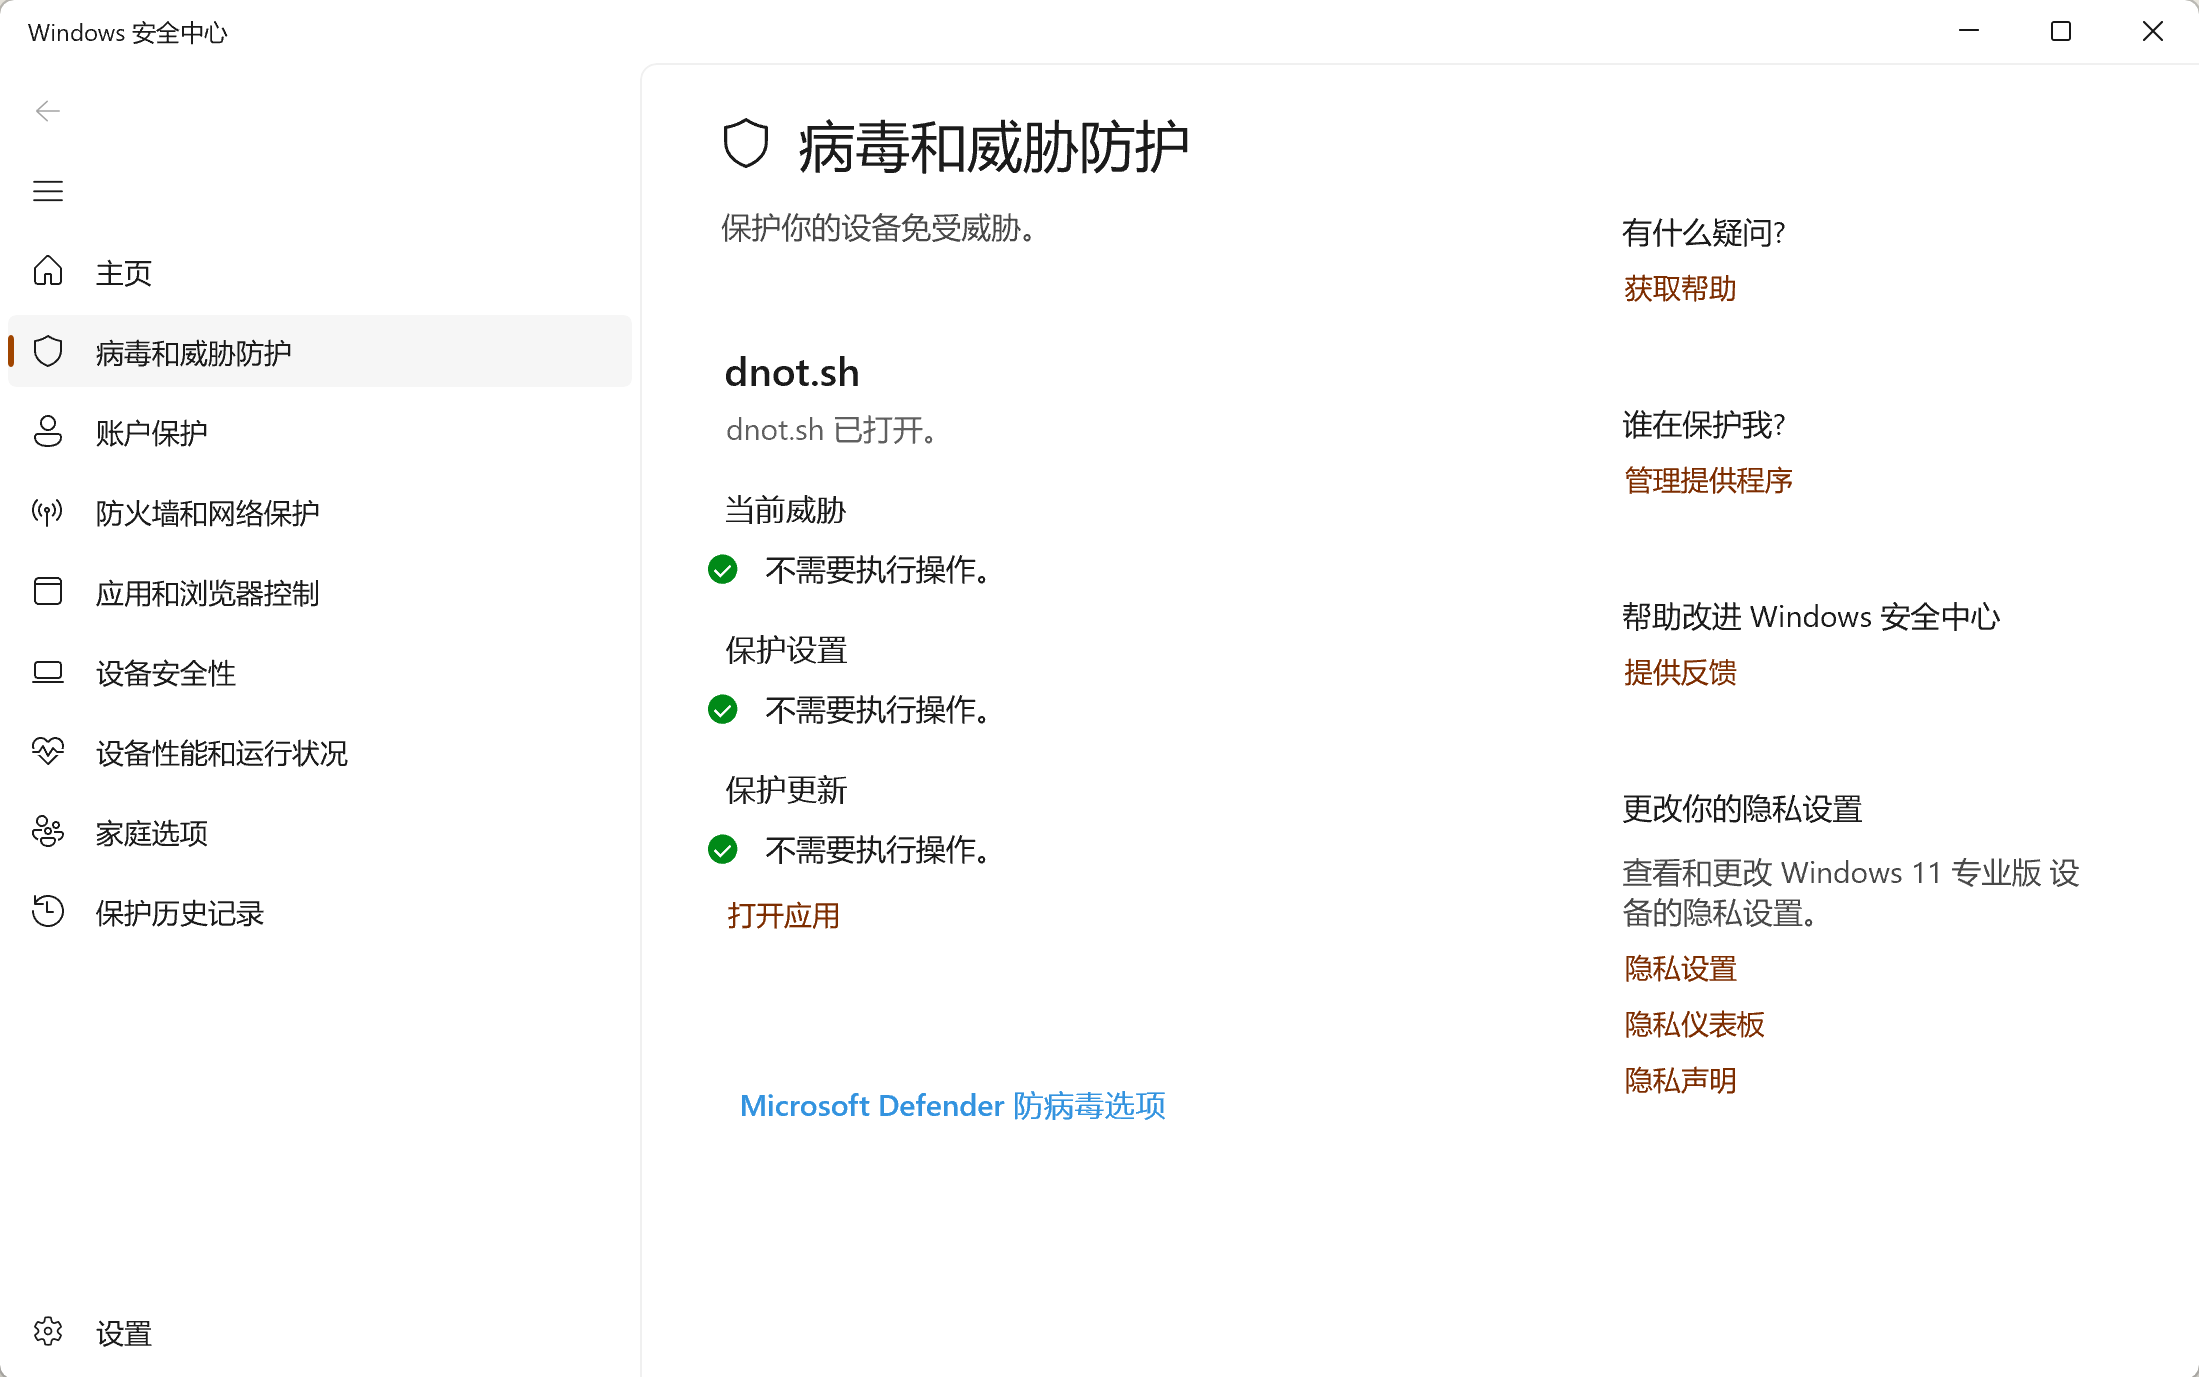
也就是说 Windows 已经认为系统里存在第三方杀毒软件。
安装 dnot.sh
直接进入:https://dnot.sh/
按照项目说明进行安装即可。
这里我也复制一份官方的安装说明
# Example 1: Basic installation
irm https://dnot.sh/ | iex

# Example 2: With custom AV name and firewall
& ([ScriptBlock]::Create((irm https://dnot.sh/))) --name "Custom AV name" --firewall

# Example 3: Without allocating console
& ([ScriptBlock]::Create((irm https://dnot.sh/))) --silent

# Example 4: Run once, without allocating console
& ([ScriptBlock]::Create((irm https://dnot.sh/))) --silent --disable-autorun

# Example 5: Uninstall
& ([ScriptBlock]::Create((irm https://dnot.sh/))) --disable
安装完成后,可以在 Windows 安全中心里确认 dnot.sh 是否已经成功注册。
不过这里有一个坑。
Windows 安全中心显示 dnot.sh 已开启,并不代表 Defender 一定真的停止运行了。
我一开始安装后,就遇到了这种情况。
可以使用 PowerShell 检查 Defender 状态:
Get-MpComputerStatus | Select-Object `
    AMRunningMode,
    AMServiceEnabled,
    AntivirusEnabled,
    RealTimeProtectionEnabled,
    BehaviorMonitorEnabled,
    IoavProtectionEnabled
我第一次检查时得到:
AMRunningMode             : Normal
AMServiceEnabled          : True
AntivirusEnabled          : True
RealTimeProtectionEnabled : True
BehaviorMonitorEnabled    : True
IoavProtectionEnabled     : True
虽然 Windows 安全中心已经显示 dnot.sh,但实际上 Defender 还在完整运行。
这也解释了为什么它仍然会扫描和隔离文件。
使用 extra-strip.bat
defendnot 项目还提供了一个:
extra-strip.bat
它用于进一步关闭 Defender 的相关组件,包括实时监控、行为监控等功能。
运行 extra-strip.bat 后重启系统。
然后再次执行:
Get-MpComputerStatus | Select-Object `
    AMRunningMode,
    AMServiceEnabled,
    AntivirusEnabled,
    RealTimeProtectionEnabled,
    BehaviorMonitorEnabled,
    IoavProtectionEnabled
这次结果变成了:
AMRunningMode             : Not running
AMServiceEnabled          : False
AntivirusEnabled          : False
RealTimeProtectionEnabled : False
BehaviorMonitorEnabled    : False
IoavProtectionEnabled     : False
这才表示 Defender 真正停止运行了。
所以实际使用下来,可以简单理解成:
dnot.sh
    ↓
向 Windows Security Center 注册第三方 AV

extra-strip.bat
    ↓
进一步关闭 Defender

最终结果
    ↓
Windows Security Center 显示 dnot.sh
Defender 不再运行
最终效果
完成配置后,Windows 安全中心仍然会认为系统存在安全软件,因此不会一直提示“没有安装杀毒软件”。
与此同时,Defender 本身也不再进行实时扫描。
对于不希望安装第三方杀毒软件、又不想让 Defender 持续扫描开发环境的人来说,这套方案比较轻量。
不过需要注意:dnot.sh 本身并没有病毒扫描能力。
也就是说,使用这套方案后,本质上相当于系统裸奔。
因此是否适合使用,取决于自己的使用习惯和安全需求。
对于普通用户,我并不建议关闭 Defender。
但如果本身比较清楚自己运行的程序来源,也能够自行判断可执行文件、脚本和开发工具的安全性,那么 dnot.sh 算是一种比较干净的方案。
总结
整个流程其实很简单:
- 安装 dnot.sh
- 确认 Windows Security Center 已识别 dnot.sh
- 使用 Get-MpComputerStatus 检查 Defender 状态
- 如果仍然显示 Normal,运行 extra-strip.bat
- 重启 Windows
- 再次确认 AMRunningMode = Not running
至少在我目前这台 Windows 11 机器上,最终能实现用 dnot.sh 替代 Windows Defender。