

Tutorial for Installing Ubuntu Subsystem on Win10
1. Enable “Windows Subsystem for Linux” Search for and open “Turn Windows features on or off” via the Cortana search box on the Win10 taskbar. Scroll down the list to find the “Windows Subsystem for Linux” item. Check it, click OK, then restart the system as prompted. 2. Enable Developer Mode Then go to the “Settings - Update & Security - For developers” settings page and select “Developer mode”. As shown: Then it will download and install the Developer Mode package; wait for the installation
目录6 个章节
1. Enable “Windows Subsystem for Linux”
Search for and open “Turn Windows features on or off” via the Cortana search box on the Win10 taskbar. Scroll down the list to find the “Windows Subsystem for Linux” item.
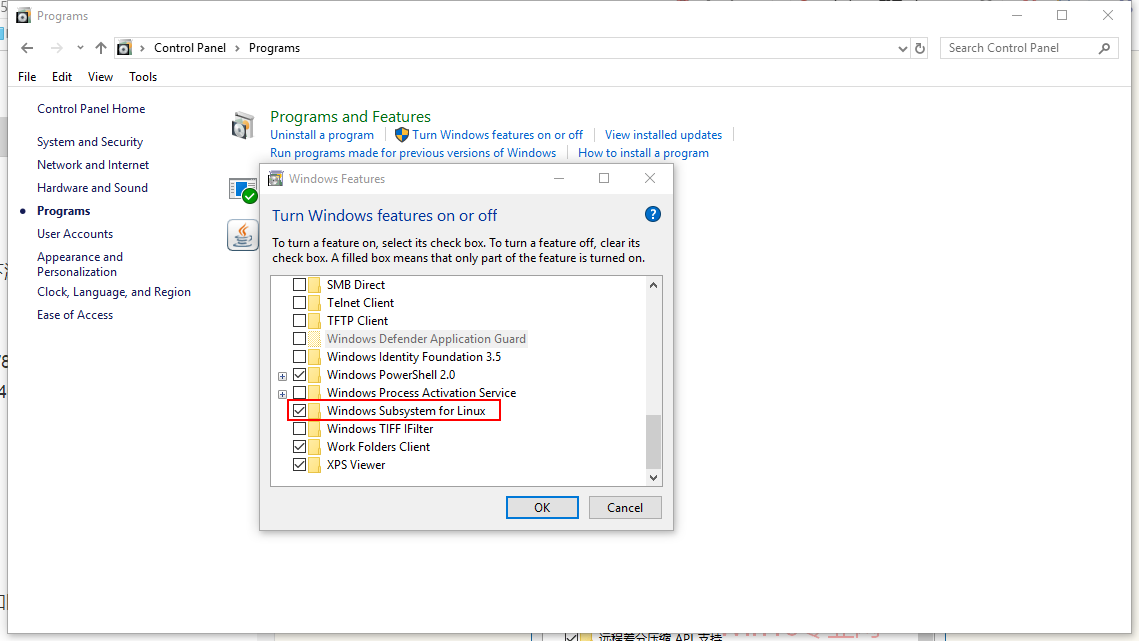
Check it, click OK, then restart the system as prompted.
2. Enable Developer Mode
Then go to the “Settings - Update & Security - For developers” settings page and select “Developer mode”. As shown:
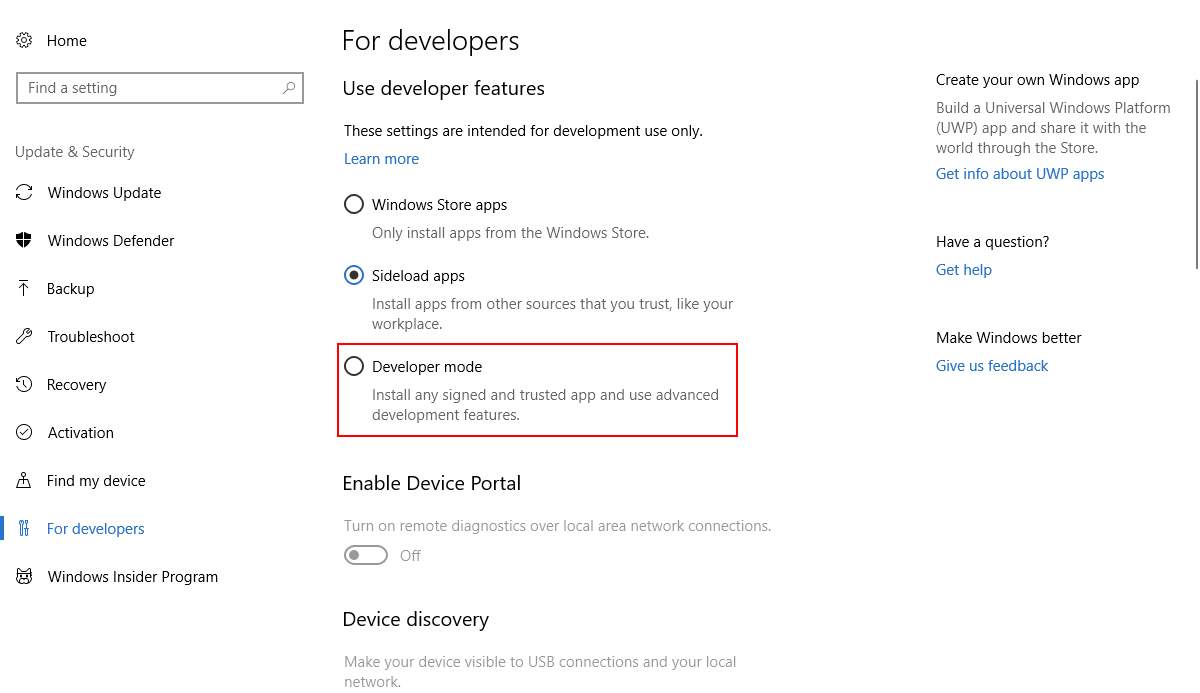
Then it will download and install the Developer Mode package; wait for the installation to complete.
3. Enable the Linux Subsystem
Right-click the Win10 Start button and select “Windows PowerShell (Admin)” to run Windows PowerShell as administrator.
Enter and run the following command by pressing Enter:
> Enable-WindowsOptionalFeature -Online -FeatureName Microsoft-Windows-Subsystem-Linux

You may need to restart the system.
At this point you can already enter bash, but there is no distribution available. Running bash will show the following prompt:

4. Install a Linux Distribution from the Windows Store
Open the Windows Store, then search for the name of any Linux distribution, for example I typed Ubuntu.
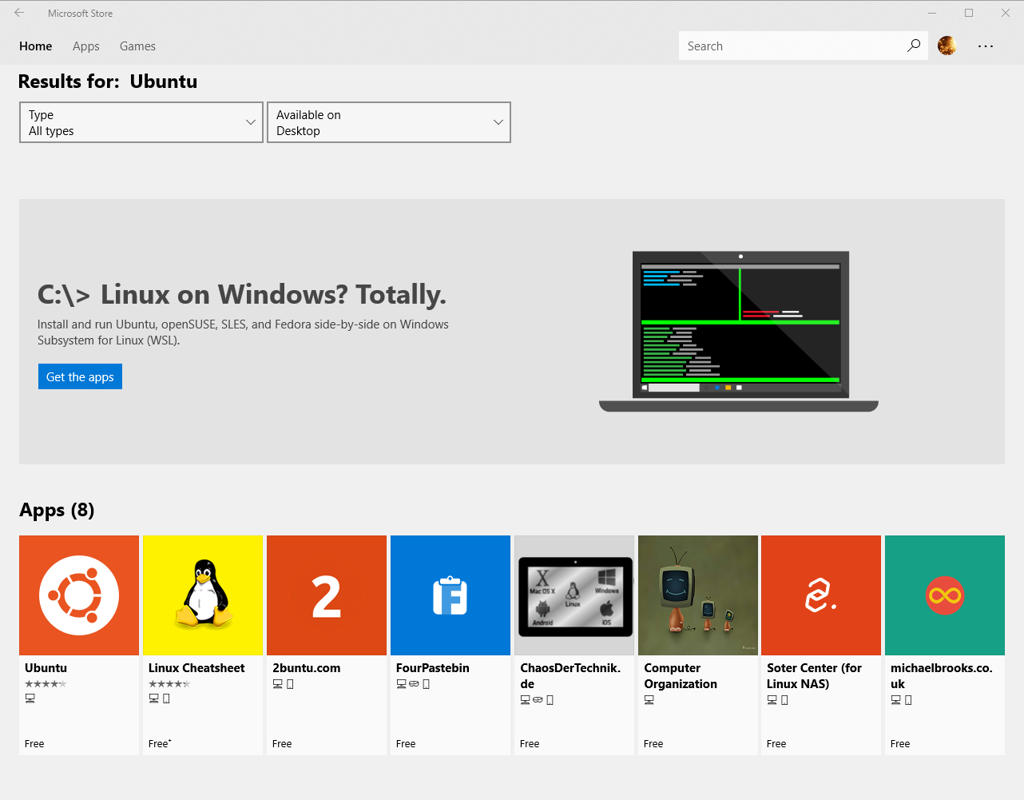
Click Get the app. You can see there are 3 distributions to choose from.
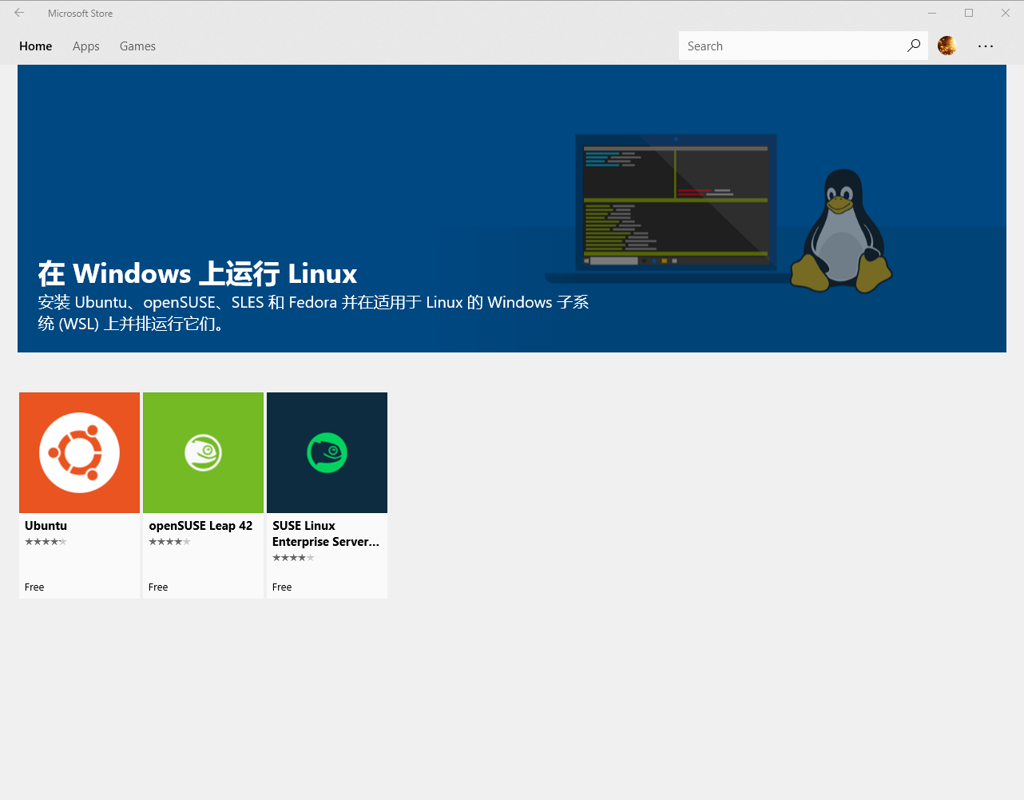
Here we’ll still choose Ubuntu, which I’m more familiar with.
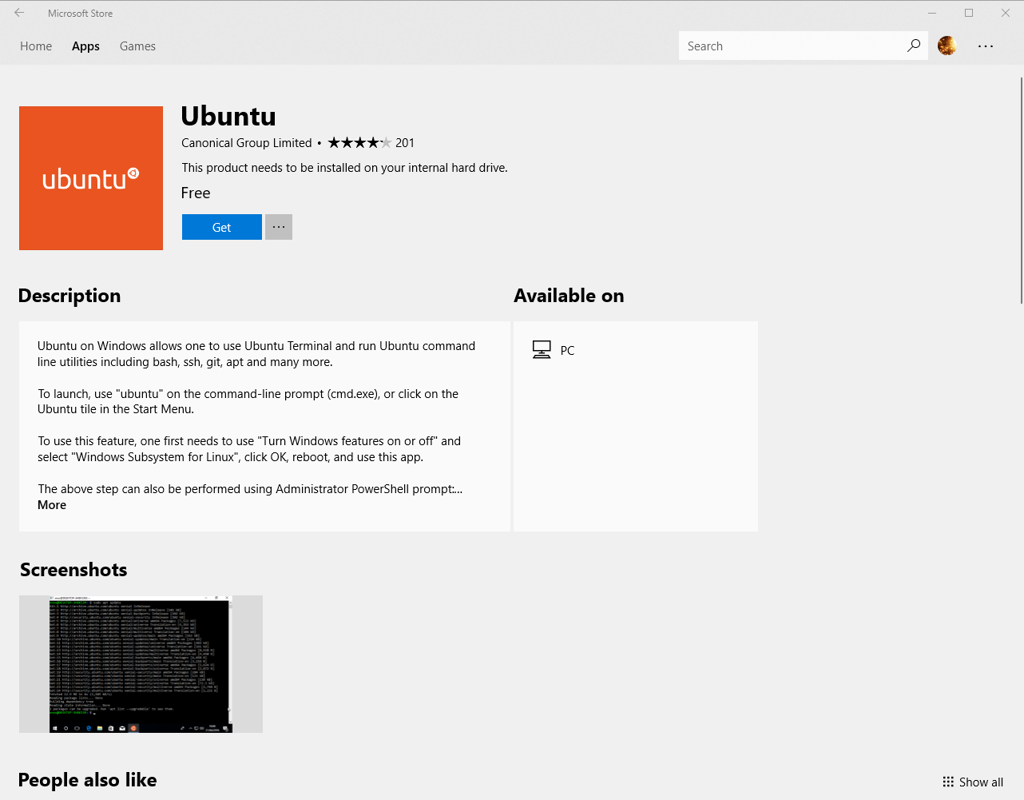
Click Get to start downloading.
Installation complete
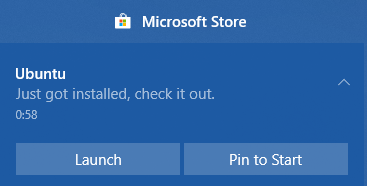
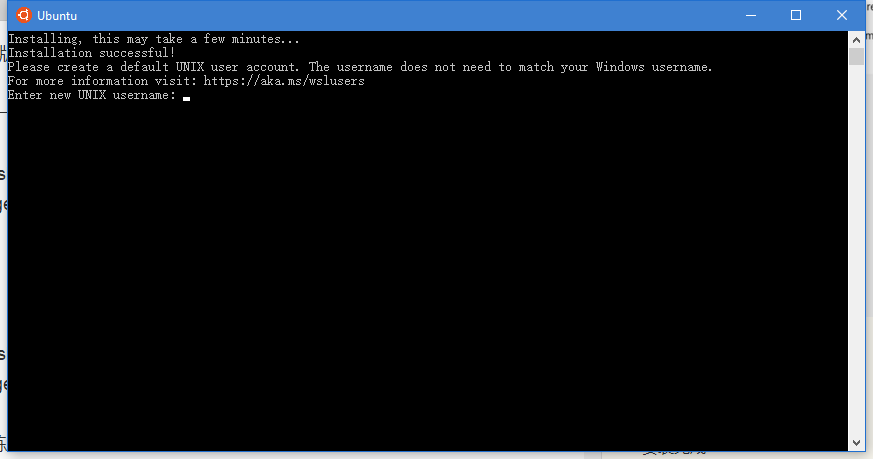
Click Launch and continue with the next installation steps.
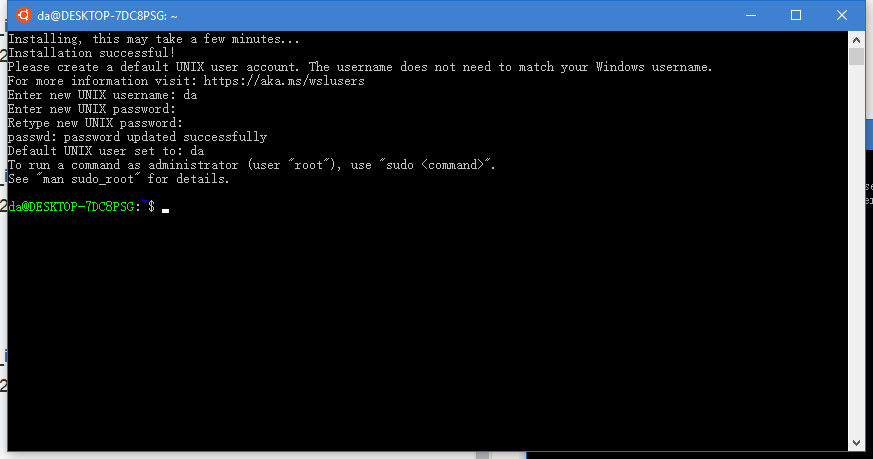
Just enter a username and password.
Installation complete. You can now have fun with it.
About

For more interesting tips, follow my WeChat official account: DealiAxy Every article is also collected on my blog: blog.deali.cn
_EOF_
Tutorial for Installing Ubuntu Subsystem on Win10
- 本文作者:
- 程序设计实验室
- 版权声明:
- 本博客所有文章除特别声明外,均采用 BY-NC-SA 许可协议。转载请注明出处!
相关文章
这是演习:Win10蓝屏,随你召唤
蓝屏似乎是很多IT之家用户不希望看到的东西,虽然在Win10中你还可以扫描屏幕下方二维码参与微软互动赢取大……那个,蓝屏的好处就是为专业人员提供问题信息,比如当前的内存转储,有助于排查和解决问题。当然,可能光是默认蓝屏给出的信息不够,此时可以开启Win10蓝屏详细信息显示。 ▲这二维码居然“上位”了……VM12虚拟机测试结果 微软在Windows10中安排了手动“调取”蓝屏的方式,那就是**按住右
2021-12-18 · Windows · 约 1 分钟
WSL小技巧:切换到zsh以及加入右键菜单
切换到zsh 说明 在 Windows Subsystem for Linux 中,执行 chsh -s /bin/zsh 并不能成功地将默认 shell 修改为 zsh。在打开 WSL 时,默认 shell 仍然为 bash。 这是因为WSL 在启动时并没有执行 login 相关的组件,而这些组件和默认 shell 有关。Microsoft 已经知晓了这个问题,但并没有计划去解决。 方法 我们可
2021-12-18 · Windows · 约 1 分钟
从SSH远程到Git Push:在Windows上一步到位实现免密码登录
我一直希望在Windows上能像在Linux系统中那样,通过SSH密钥实现免密码远程连接。每次远程连接到服务器时,手动输入密码既麻烦又不太安全,尤其是在我需要频繁操作的情况下。
2025-02-10 · Windows · 约 1 分钟
Windows设置Pageant开机自动启动并且加载秘钥
场景 用Linux的时候ssh和git这些很方便,因为只要一次ssh-add就可以一劳永逸,以后需要认证的时候ssh-agent会帮我们搞定,不需要输入秘钥的密码。 其实Windows也可以实现这种生产力解放,就是用putty附带的工具里的Pageant。 Pageant主要负责和服务器端进行身份验证,但是每次在启动Pageant后都需要手动的加载秘钥文件,本文就是要介绍让Pageant开机自动加
2021-12-18 · Windows · 约 1 分钟
讨论
共 0 条加载评论中…