

Ubuntu-18-04-Modify Login Screen Background Image
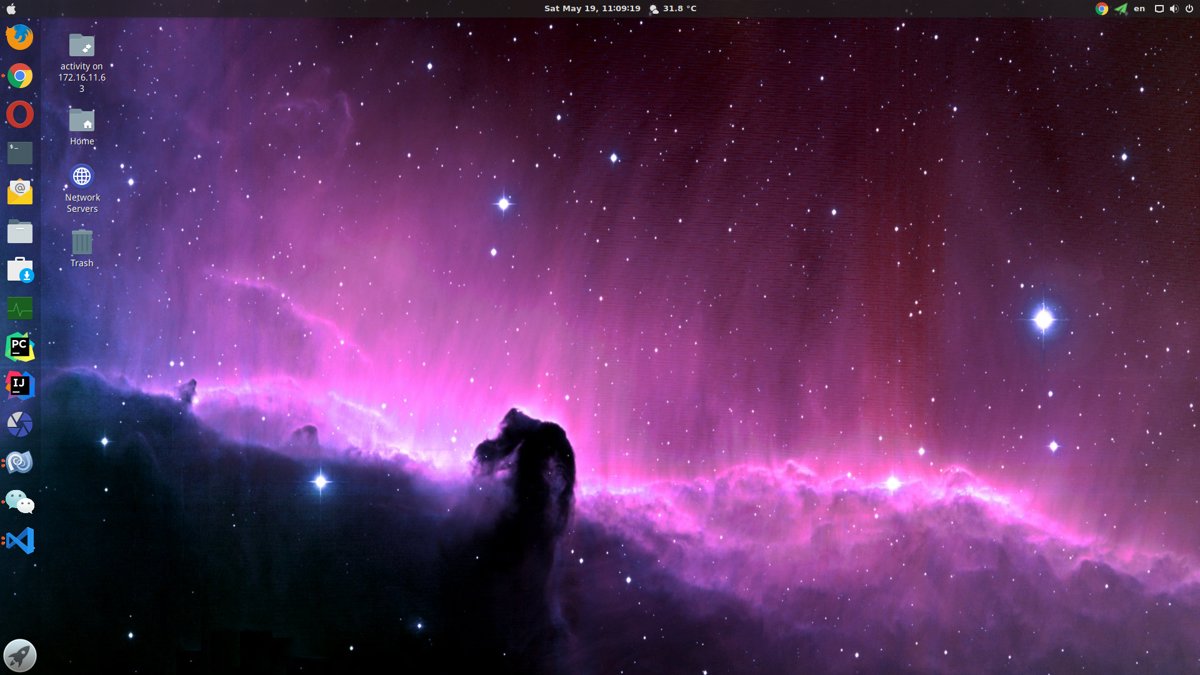
Preface I have been using Ubuntu 18.04 for a while now. With the addition of the Gnome desktop, the visual appeal of Ubuntu 18.04 is quite impressive. After pairing it with a few GTK themes I customized, the experience is absolutely delightful. The only slight drawback is that after switching Ubuntu’s login manager to GDM, the background of the login screen can no longer be modified. This just wouldn’t do, so after some tinkering, this article was born. First, prepare an image. The image size should be determined based on your screen resolution. Then, place the image in the /usr/share/backgrounds/ directory.
目录5 个章节
Foreword
I've been using Ubuntu 18.04 for a while now. With the Gnome desktop, Ubuntu 18.04 (nicknamed "Rabbit") actually looks quite good. After pairing it with a few GTK themes I customized, it feels absolutely delightful. The only slight downside is that after Ubuntu switched its login manager to GDM, there's no longer a straightforward way to change the login screen background. That just wouldn't do! So, after some tinkering, this article was born.
First, prepare an image
The dimensions of the image should be determined based on your screen resolution.
Then, place the image in the /usr/share/backgrounds/ directory.
Modifying GDM's CSS File
For those working in front-end development, using Gnome would be a delightful experience. Themes, extensions, and various customization options can be explored extensively.
File Location
/etc/alternatives/gdm3.css
/*Find the default section*/
#lockDialogGroup {
  background: #2c001e url(resource:///org/gnome/shell/theme/noise-texture.png);
  background-repeat: repeat;
}

/*Change it to*/
#lockDialogGroup {
  background: #2c001e url(file:///usr/share/backgrounds/mypicture.jpg);
  background-repeat: no-repeat;
  background-size: cover;
  background-position: center;
}
Note: The CSS code provided is for reference only. Those familiar with front-end development can create better effects according to their preferences. Don’t forget to share your creations when you do!
Restart
You can restart the system or restart the graphical interface. To avoid any hassle, it's recommended to just restart the system—it's quick either way.
About

For more interesting operations, please follow my WeChat official account: DealiAxy.
Every article is also included in my blog: blog.deali.cn.
_EOF_
Ubuntu-18-04-Modify Login Screen Background Image
- 本文作者:
- 程序设计实验室
- 版权声明:
- 本博客所有文章除特别声明外,均采用 BY-NC-SA 许可协议。转载请注明出处!
相关文章
内存不够用?在Linux上使用swapfile配置交换空间
前言 几个月前我还兴高采烈写了篇文章说给笔记本升级了内存配置,从乞丐版的4G一跃成为16G高富帅,然而,这几个月来我备受电脑死机的折磨,我现在有理由怀疑我可能买了假的内存条,于是没有办法,只能换回原厂的4G内存条,~~(然后准备赚部台式机)~~,问题不大。 换上4G内存条之后效果显著,只开了一个谷歌浏览器,内存占用就已经到了80%了,JB家的IDE是决计不敢再用了,可是这样还是难以满足系统对内存空
2025-10-27 · 系统配置 · 约 1 分钟
Nginx配置http跳转https-强制https访问
前言 最近上线了好几个项目,同时也申请了相应的SSL证书,不过发现了一个问题,用户在浏览器直接输入域名的时候,浏览器默认访问的是http站点,然而我们的网站只支持https访问,所以就访问不了咯。 其实可以在nginx全局配置里面把所有访问重定向到https,不过服务器有些站点是提供http服务的,所以只能每个站点分别配置。 根据搜索引擎找到的资料,本文总结了三种配置方法,有需要的朋友可以选择中意
2025-10-27 · 系统配置 · 约 1 分钟
Linux安装zsh并使用oh-my-zsh配置
安装zsh sudo apt install zsh 配置 oh my zsh curl sh -c $(curl -fsSL https://raw.github.com/robbyrussell/oh-my-zsh/master/tools/install.sh) wget sh -c $(wget https://raw.github.com/robbyrussell/oh-my-zsh/m
2025-10-27 · 系统配置 · 约 1 分钟
给VMware里的Linux虚拟机配置静态ip
前言 最近用VMware的时候是使用桥接方式,不知道是路由的问题还是其他,路由器里面没有显示虚拟机的连接,虽然虚拟机和主机都在路由器里分配了不同的IP地址,但是每次resume之后虚拟机的IP地址总是变,很麻烦。 VMware设置 把下面这个勾去掉。 然后点击Nat Settings。 记录网关。 虚拟机设置。把网络改成这个VMnet8。 Linux系统中配置静态IP Debian nano /e
2025-10-27 · 系统配置 · 约 1 分钟
讨论
共 0 条加载评论中…