

The Journey of Flashing Android 9.0 on a OnePlus 3
Preface Can you imagine a phone released in 2016, three years later now, going from Android 6.0 at the start all the way to Android 9.0? This kind of system update cycle is pretty conscientious, I'd say~ This time upgrading to Android 9.0, even though it's an official ROM package, there were still a few small pitfalls. It took an afternoon and evening of tinkering to finally get it installed. Maybe it's also because I haven't flashed in a long time and I've gotten quite rusty. Screenshots first Downloading the system image First, download the image from the official channel: The official Android 9.0 is now on its second
目录9 个章节
Preface
Can you imagine a phone released in 2016, three years later now, going from Android 6.0 at the start all the way to Android 9.0? This kind of system update cycle is pretty conscientious, I'd say~ This time upgrading to Android 9.0, even though it's an official ROM package, there were still a few small pitfalls. It took an afternoon and evening of tinkering to finally get it installed. Maybe it's also because I haven't flashed in a long time and I've gotten quite rusty.
Screenshots first
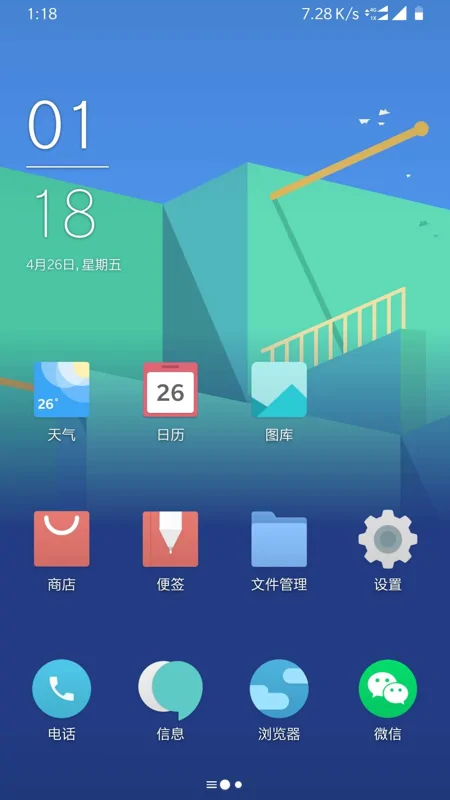
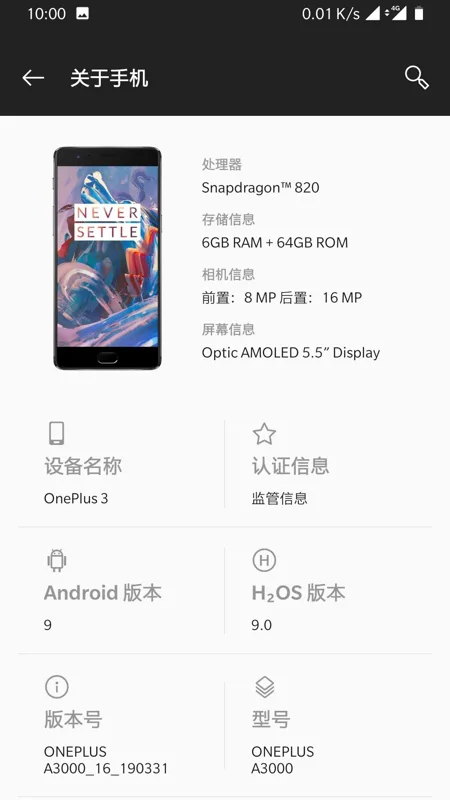
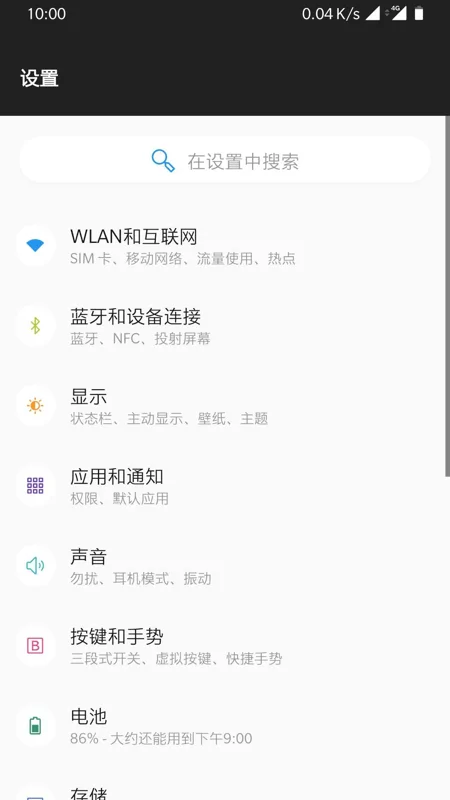
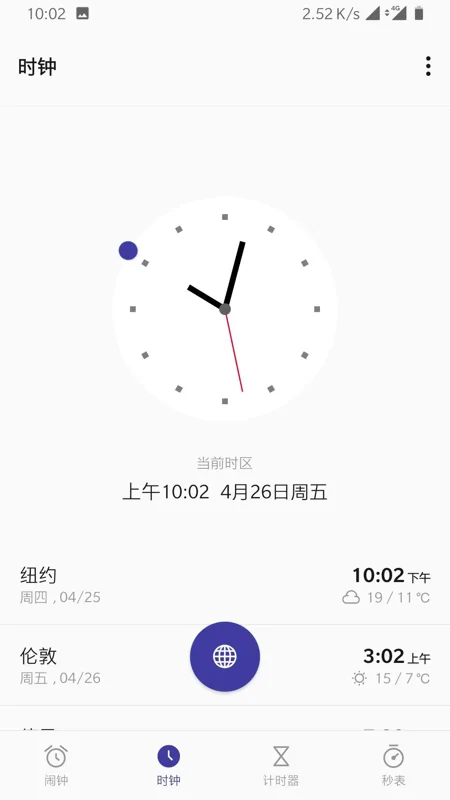
Downloading the system image
First, download the image from the official channel: The official Android 9.0 is now on its second version. The download link is as follows: http://www.oneplusbbs.com/thread-4693480-1.html
But some people on the forum said the second version isn't as good as the first, so I downloaded the first version. I don't think it really matters; neither has any major issues in use. The download link for the first version is as follows: http://www.oneplusbbs.com/thread-4676870-1.html
Flashing preparations
Backing up your data is a must. Data is very likely to be lost during the upgrade, so make sure to back up your data. Then prepare the various flashing tools. There are two cases here:
Official recovery
The first is if your phone isn't unlocked and you're using the official recovery. Then you don't need to fuss—just copy the ROM package to the root of internal storage and you can upgrade. See the official tutorial for details.
Third-party recovery
The second is if your phone is unlocked and you've flashed a third-party recovery. At this point there are two options: according to the official tutorial, flash back the official recovery and then manually lock the phone; the other, which is the one I used, is to flash the Android 9.0 ROM package directly with the third-party recovery, though that takes a bit of tinkering. Next I'll record my tinkering process.
Starting the system install hassle
Because the recovery version I had installed before was too old (twrp 3.0.x), I ran into a lot of problems. I won't go into detail about those earlier failed attempts.
First, go to the TWRP official website and download a relatively new recovery image (img format). Official site: https://twrp.me/ The version I chose is: TWRP 3.2.3-0 Released Just select your device model and download according to the site's instructions.
Next you need adb tools and phone drivers. Since I use a Linux system, I don't need phone drivers—just the adb tools are enough (which is actually the platform-tools from the Android SDK). As a (fake) Android developer, messing with this is also a required skill (flee~ Windows folks can check out this post: http://www.oneplusbbs.com/thread-4676940-1.html
Then we're ready to start
Flashing the new recovery image
Connect the phone to the computer with a USB cable and enable USB debugging.
First run adb devices to see if the phone can be recognized. Only if it's recognized can you proceed with the following steps.
Enter the following commands:
# 进入fastboot模式
adb reboot bootloader
# 刷入新的recovery镜像
# TWRP_recovery.img可以替换成你下载的镜像名称
fastboot flash recovery TWRP_recovery.img
# 重启进入recovery模式
fastboot boot TWRP_recovery.img
After completing the above steps, the new recovery is flashed. It seems you need TWRP 3.2.0 or above to flash the Android 9.0 package (just a guess, not actually tested).
After entering TWRP, just select install the flash package and follow the prompts~ Anyway it has a Chinese interface, very simple~ After flashing is complete, the first time you enter the system it may prompt a decryption failure, in which case you'll have to wipe all data, which is why I said above you must back up your data!!!
Appendix
- Complete list of OnePlus engineering mode commands and codes
- OnePlus 3 official forum: OnePlus 3
_EOF_
The Journey of Flashing Android 9.0 on a OnePlus 3
- 本文作者:
- 程序设计实验室
- 版权声明:
- 本博客所有文章除特别声明外,均采用 BY-NC-SA 许可协议。转载请注明出处!
相关文章
如何查看安卓模拟器的ADB端口号?
找到模拟器的进程 用tasklist查看进程pid tasklist 找到模拟器进程的PID,然后再使用netstat命令。 netstat -ano | findstr 1000 这里的 1000 就是上面查到的进程PID。 根据获取到的端口号,就可以使用 ADB 连接了。 adb connect 127.0.0.1:端口号 当然最好的方法还是去模拟器提供商的网站上查一下,这是最方便的。 例如我
2021-12-18 · Android · 约 1 分钟
电脑上的安卓系统——PhoenixOS浅度体验
前言 其实这篇关于PhoenixOS的浅度评测在几个月前就准备发了,当时是刚看到新闻说Android 7.0 x86的正式版刚刚发布,于是就下载来安装一番,结果.....体验极差= =,只能用这4个字来形容,不过既然体验Android x86,就不能扫兴而归,所以就把国产基于Android x86深度定制而颇有名气的PhoenixOS安装体验一番。 本文不涉及如何安装,因为安装过程很简单,如果有需
2021-12-18 · Android · 约 1 分钟
在Android模拟器里取得root权限
前言 android 开发过程中程序很多时候免不了需要对系统目录下的内容进行操作,虽然android的内核是linux系统,但是在linux中切换到root下的方式是sudo root,但是在的android中并没有提供我们su文件。 So我们要向需要root的系统中添加su文件,同时改变su二进制文件的权限。 操作步骤 步骤一 将需要root的模拟器运行起来 步骤二 在有 supersu.apk
2022-06-17 · Android · 约 1 分钟
Android-x86-7-1-稳定版初体验
前言 最近Android x86发布了7.1的稳定版本,作为一名~~伪极客~~,自然是要安装体验一下。 关于在电脑上可以用的Android系统,可能大部分人了解的都是 Remix OS 和 Phoenix OS 这两个。不过这两个也是基于Android x86的nightly版本构建的,还是原版的才原汁原味呐。 这里不得不吐槽一下,这个Android x86项目的官网真是简陋,只有这么一个捐赠的海
2021-12-18 · Android · 约 1 分钟
讨论
共 0 条加载评论中…