

Personal Data Preservation Plan: (1) NAS Unboxing
Preface After my first hard drive failure a few years ago caused me to lose files for a competition, I started to realize the importance of data security and began backing up with various cloud drives. At the time Baidu Cloud wasn't yet the sole dominant player, and none of us realized that cloud-drive backups were an extremely unreliable practice—until, due to certain force majeure factors, all cloud drives announced they were shutting down overnight. That's when I realized that data is only safe and controllable when it's always in your own hands. As my data volume grew, I bought another 2T hard drive, but because I didn't know any better + I got ripped off by an unscrupulous merchant, I discovered after receiving it that it was an SMR drive, and after using it for over a year it frequently stuttered and lost data
目录7 个章节
Preface
After my first hard drive failure a few years ago caused me to lose files for a competition, I started to realize the importance of data security and began backing up with various cloud drives. At the time Baidu Cloud wasn't yet the sole dominant player, and none of us realized that cloud-drive backups were an extremely unreliable practice—until, due to certain force majeure factors, all cloud drives announced they were shutting down overnight. That's when I realized that data is only safe and controllable when it's always in your own hands.
As my data volume grew, I bought another 2T hard drive, but because I didn't know any better + I got ripped off by an unscrupulous merchant, I discovered after receiving it that it was an SMR drive, and after using it for over a year it frequently stuttered and lost data…
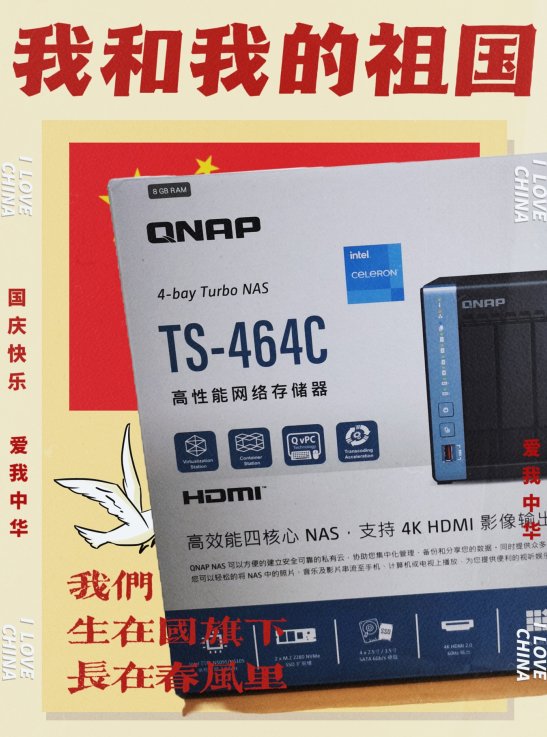
To save my precarious data, I decided to buy a larger CMR hard drive (non-SMR / perpendicular recording). While researching, I also saw that Huawei had launched a private cloud product. Although the value for money was very low so I wouldn't consider it, it did spark my interest in tinkering. At first I planned to scavenge parts and build a server myself to use as a NAS, but after considering power consumption and maintenance costs, I ultimately decided to get a ready-made QNAP NAS: the TS464C ~
Placing the Order
I'd been on the fence for a long time, but JD.com's discount was too good to pass up—two free IronWolf 4T hard drives, plus six interest-free installments with Baitiao. How could I not buy it?
So I decisively placed the order before National Day.
Unboxing
Bam, that was fast—it arrived on the morning of National Day itself (the delivery guy has it rough, still working on a holiday~ Suddenly I remembered I also had to work overtime on National Day; workers all have it tough TAT)
Because I had to work overtime on National Day, I waited until I got home in the evening after work and immediately started unboxing.
At the top of the shipping box were two hard drives and a complimentary wireless charger; below that was the NAS box.
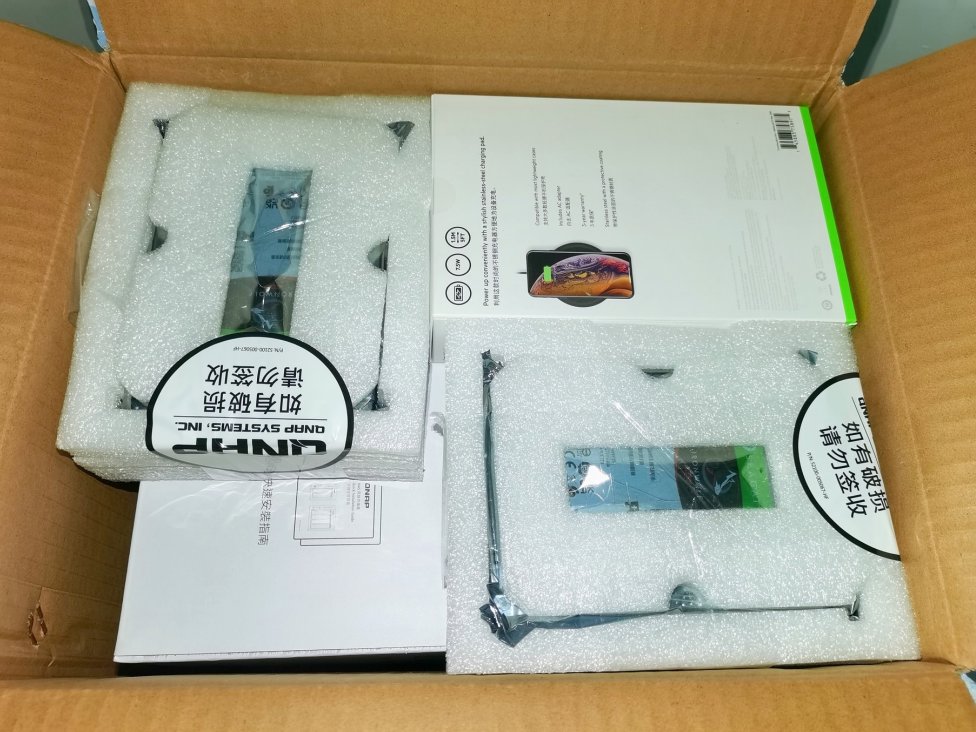
I opened JD.com's shipping box, and inside was the NAS's huge packaging box—really huge, like a bucket. I was a bit worried for a moment that this NAS would be too bulky and I wouldn't have a place to put it~
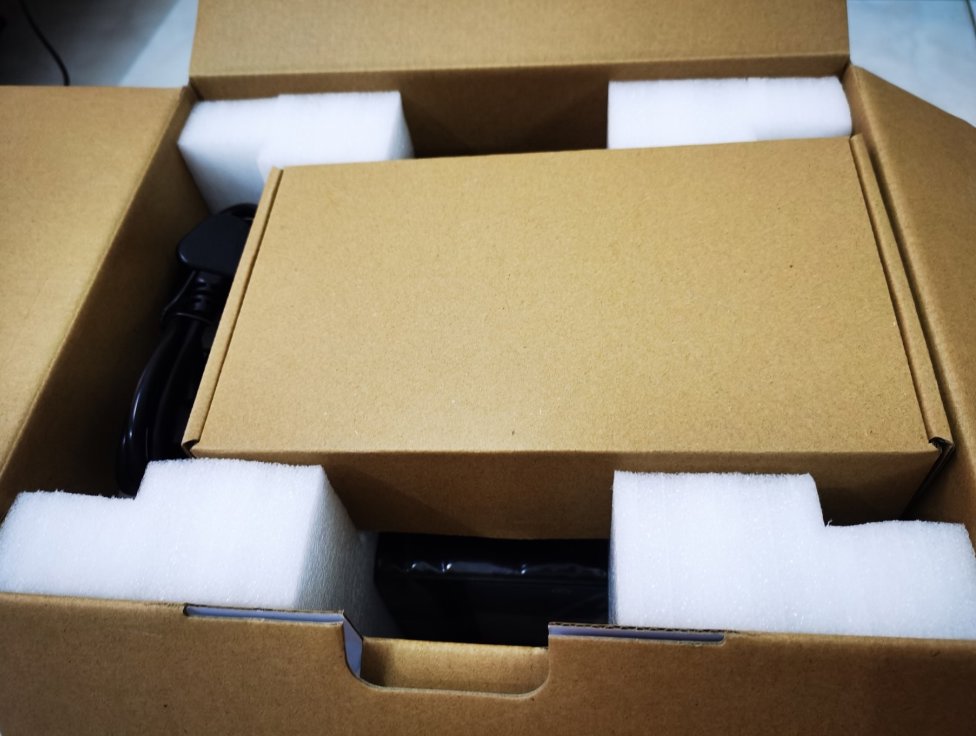
I opened this box; there was a small box, probably small accessories and such, plus some cables.
After taking everything on top out, you can see the NAS itself is well protected~
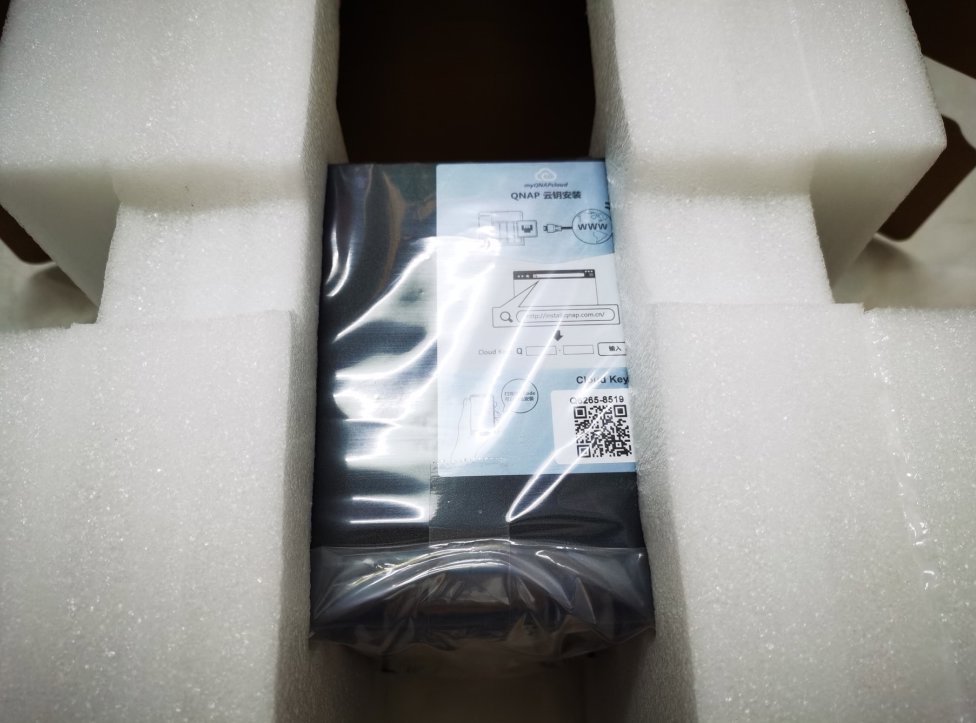
Took it out—I didn't expect it to be such a small, delicate little thing.
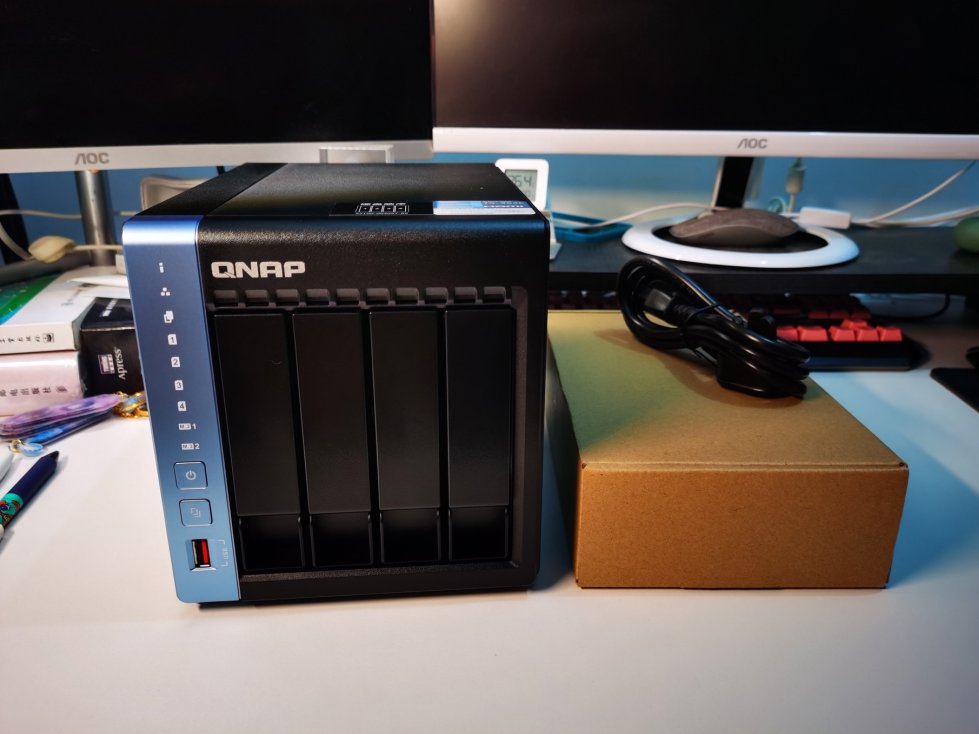
A few more photos
| Accessory box | Manual (just a few thin sheets of paper) |
|---|---|
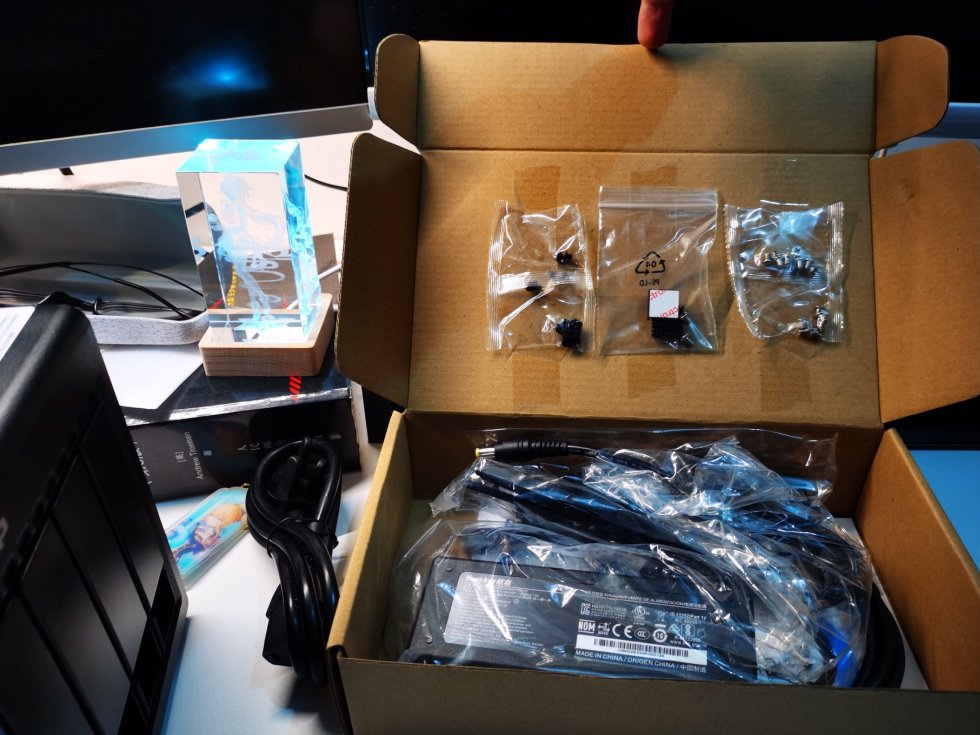 | 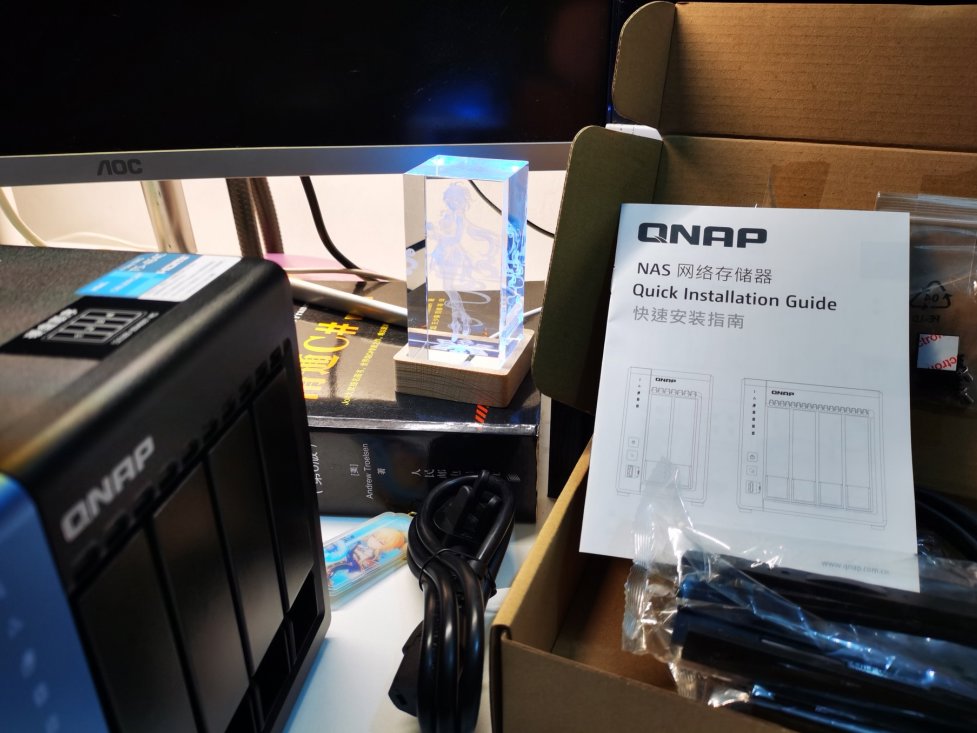 |
| Hard drives (thick packaging) | Unwrapped packaging of the two hard drives |
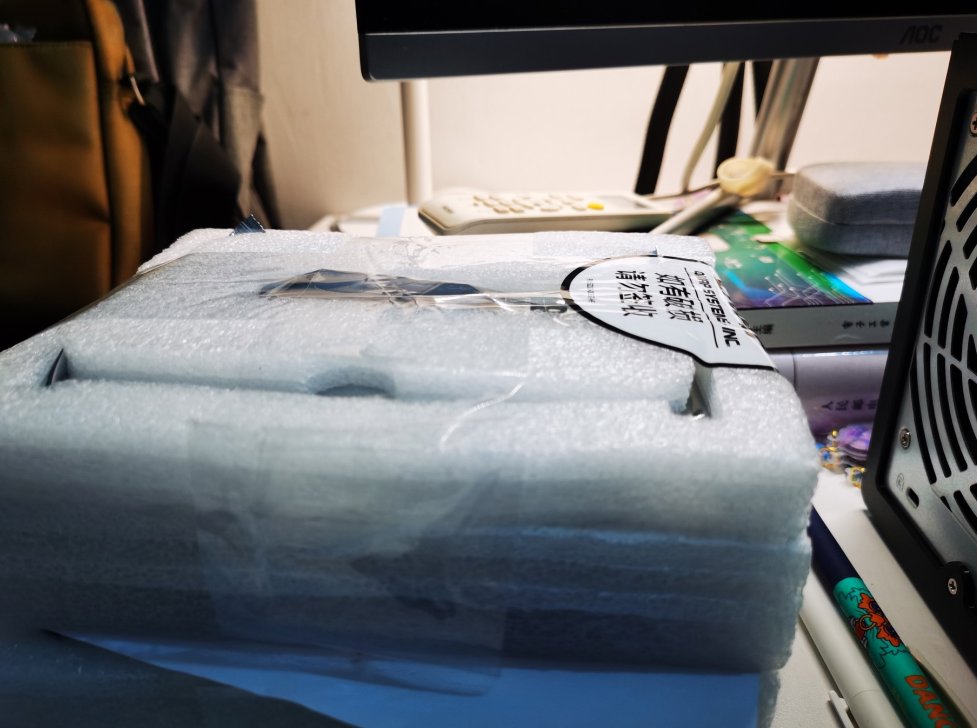 | 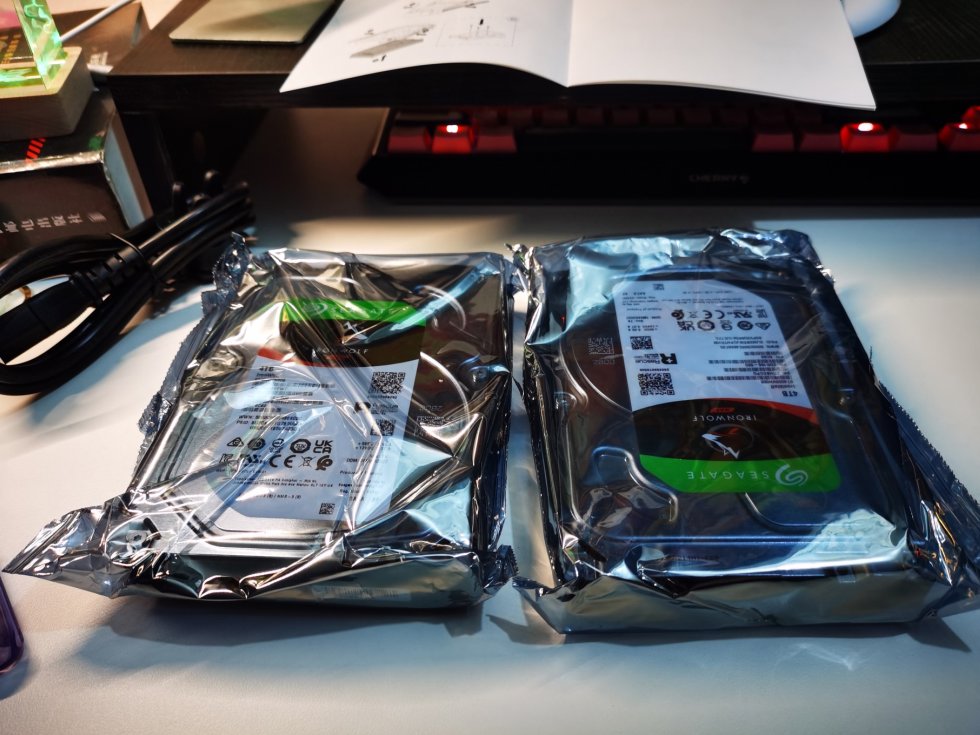 |
Installation
Before starting, I need to install the hard drives first.
This is easy—just pull out the drive bays on the front of the NAS and install them.
This NAS is basically a mini PC; you can additionally install an SSD and RAM to expand performance.
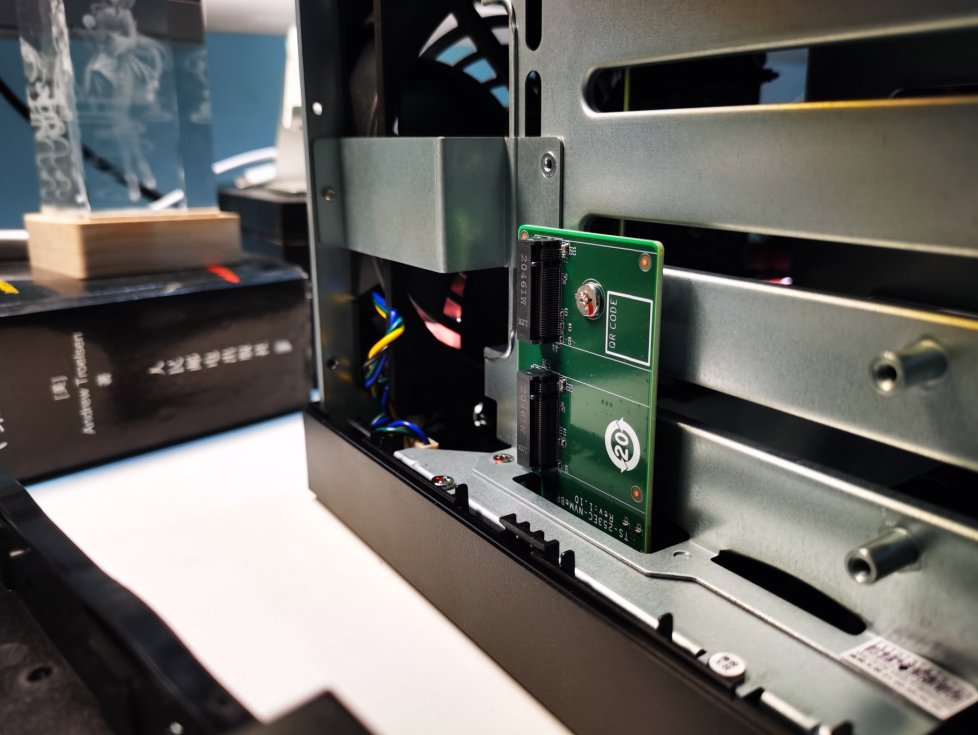
Let me open it up and take a look. This is where you insert the SSD.
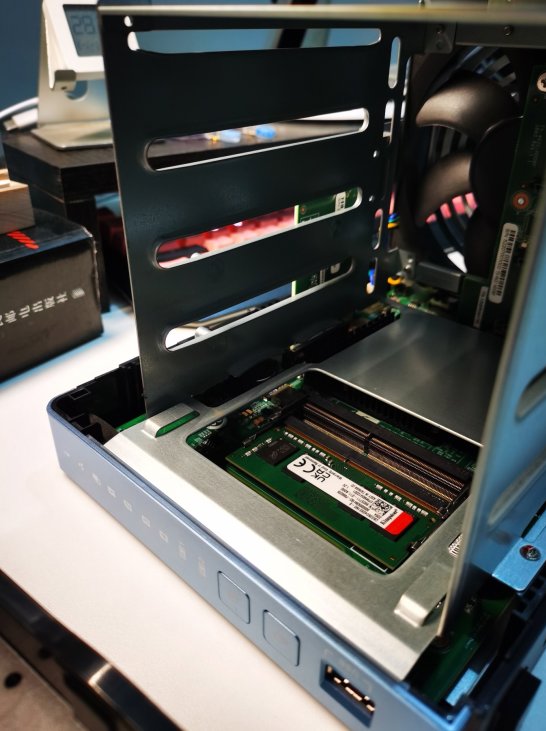
Where you insert the RAM stick
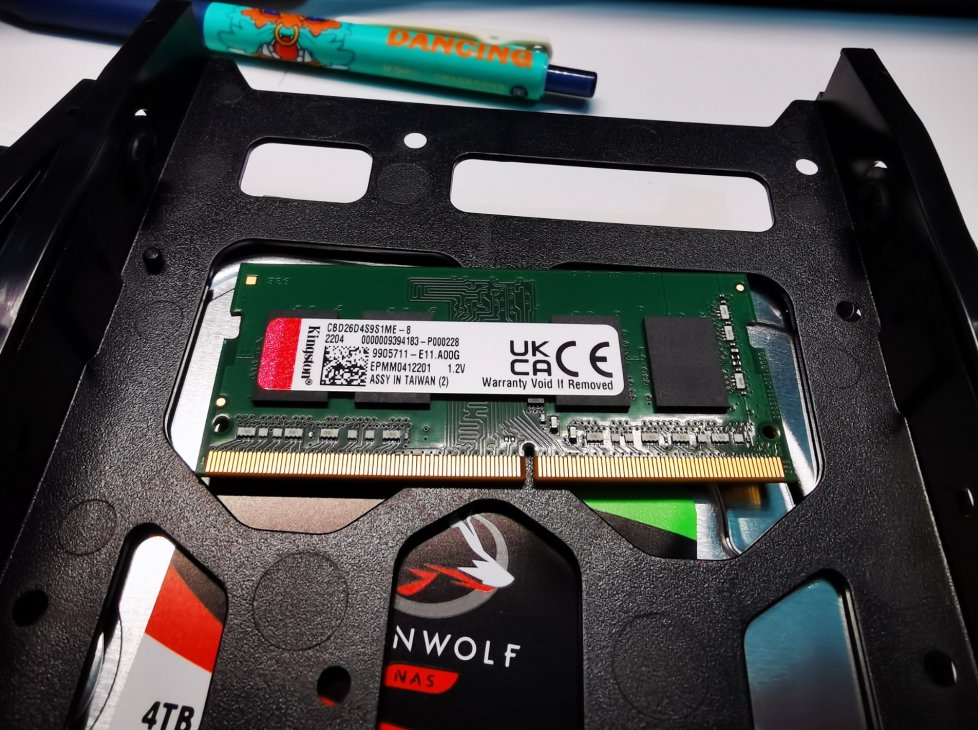
The RAM that comes with the NAS itself is Kingston.
Installing the SSD
By default the NAS installs the system on the HDD. To improve performance, I bought an SSD to install, planning to put the system on the SSD.
I bought a Lexar NM620, NVMe protocol. It's said the read speed can go up to 3500M/s, but my actual test seemed to only get around 1800…
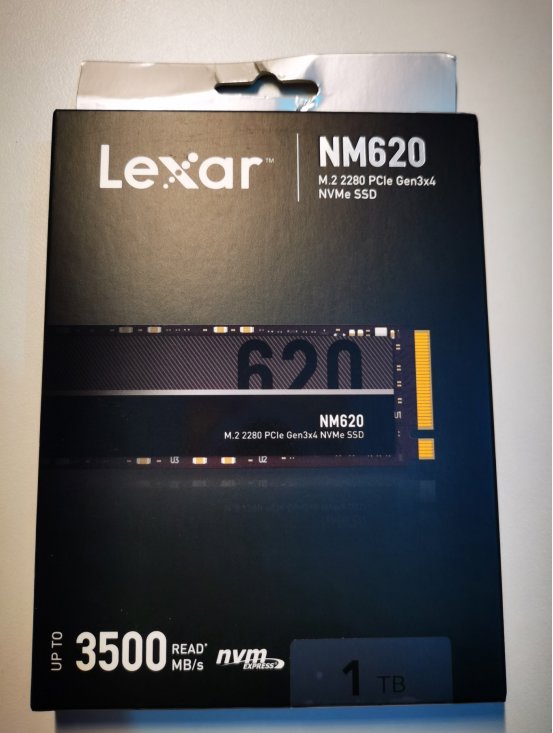
A few more photos
| 1 | 2 |
|---|---|
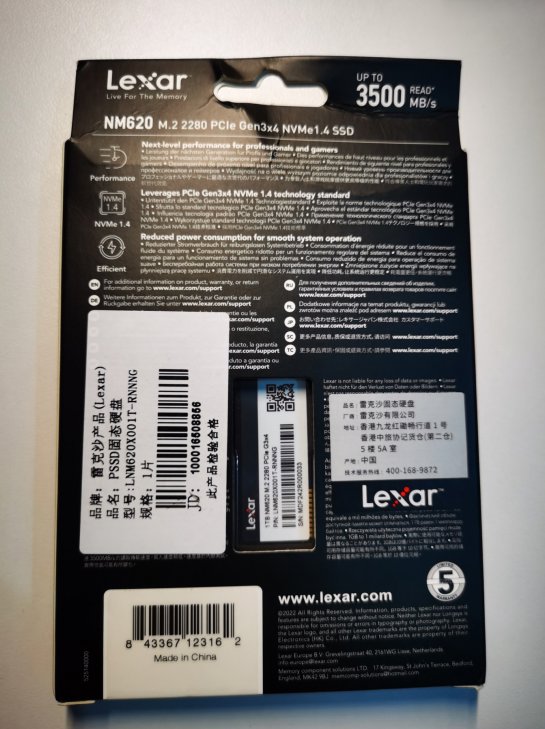 | 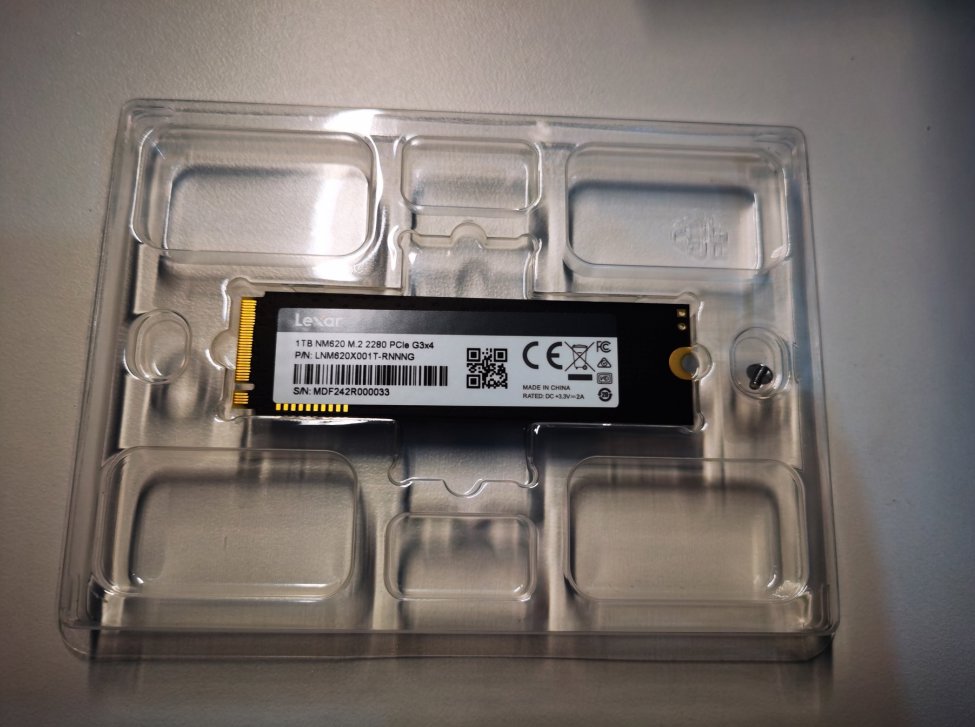 |
Upgrading the Network Card
After everything was set up, I started backing up data to the NAS, but found that my desktop was still using a 2.4G wireless network card from n years ago. The speed was unbearably slow—only 5M per second copy speed. That wouldn't do, so I had to research buying a new network card (so expensive TAT)
I ultimately chose the AX200Plus+ network card, which supports WiFi6 and Bluetooth, and it's a PCIE interface so it doesn't occupy USB. Perfect.
I looked at my motherboard—the PCIe slots were completely empty, not even a graphics card~
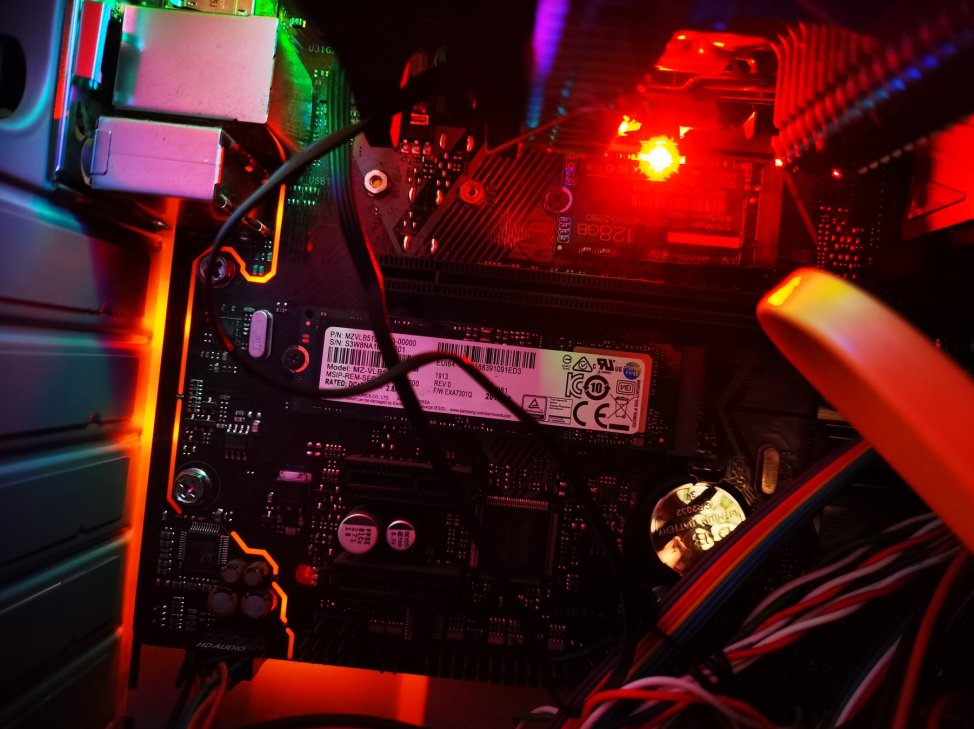
It arrived on the third day after ordering. Quite a large box.
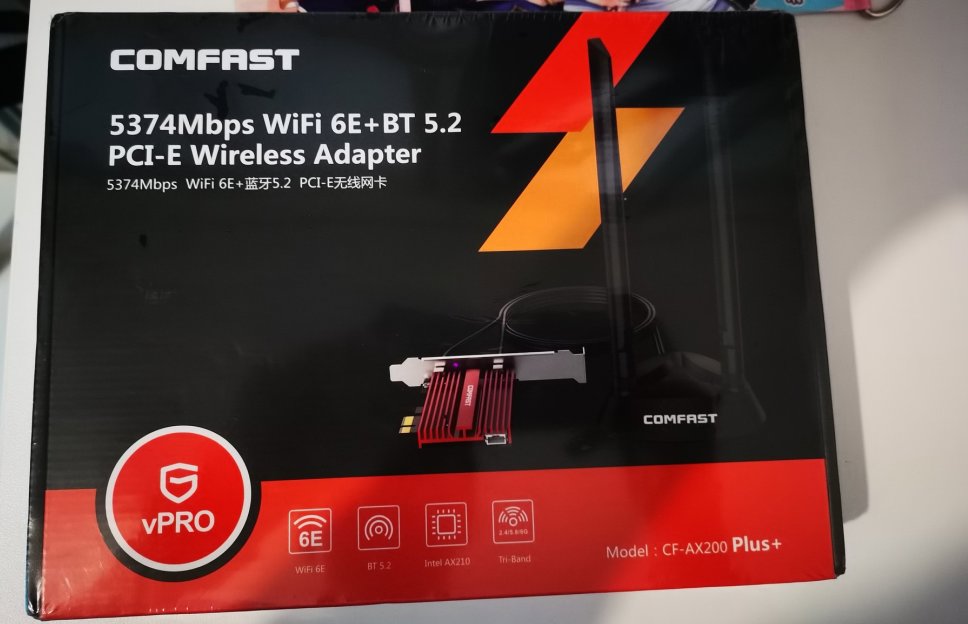
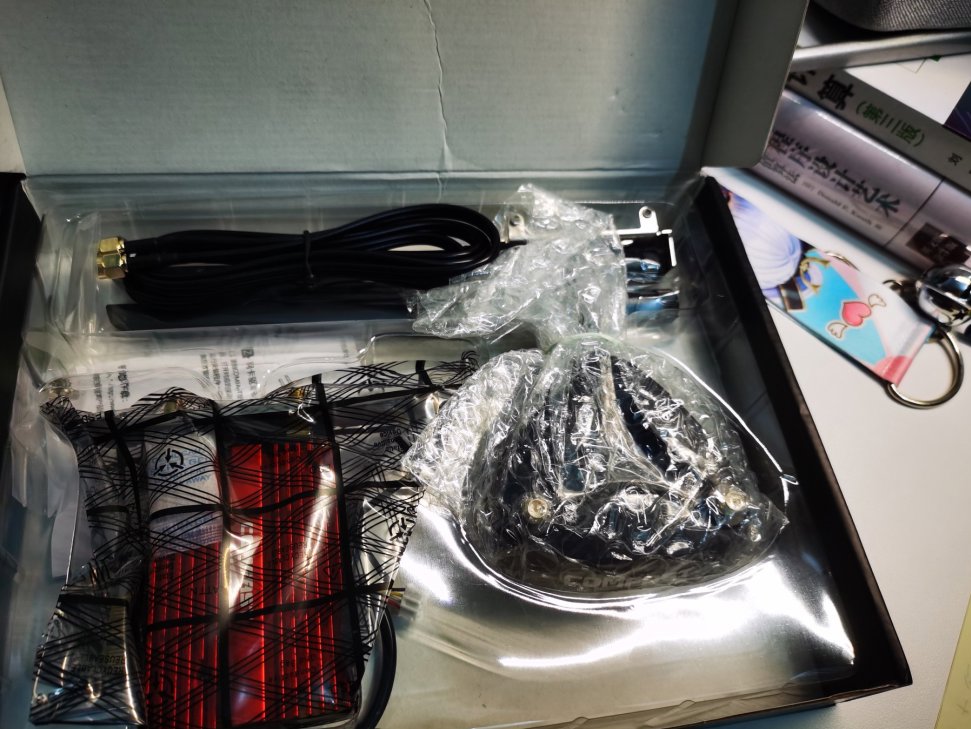
Opened it up and started installing.
(Ignore the messy cable management)
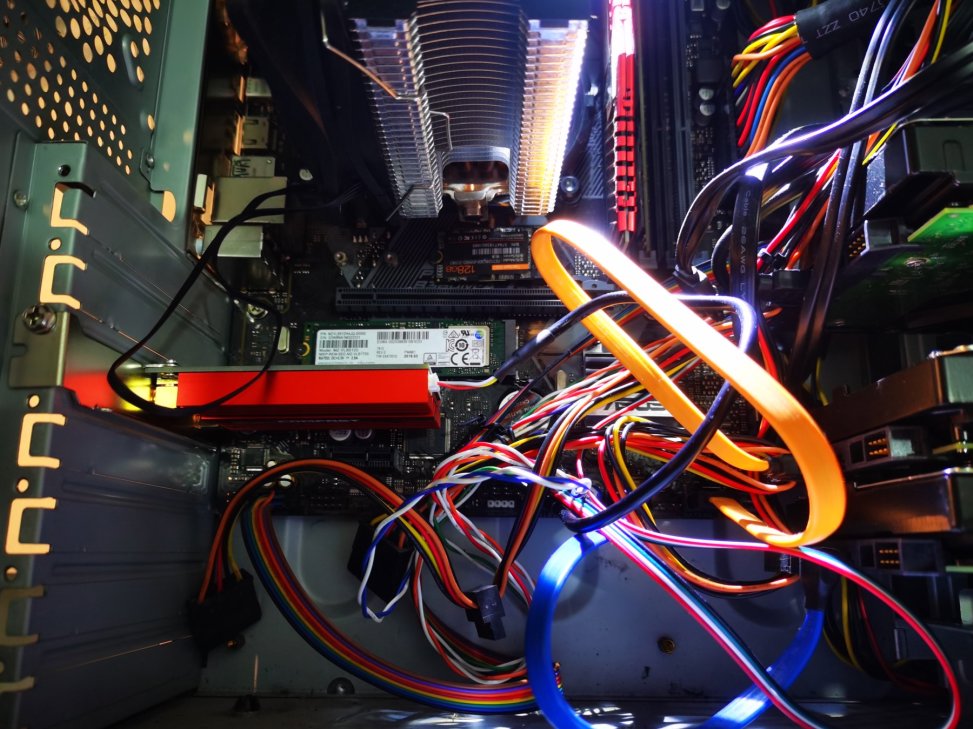
Done~
Wrap-up
OK, this is the first post in the series. Next I'll continue documenting the NAS usage (tinkering) process.
This unboxing post should have been written long ago (during the National Day holiday), but I kept putting it off until now, waiting until my StarBlog blog's article upload feature was finished before writing it~
_EOF_
Personal Data Preservation Plan: (1) NAS Unboxing
- 本文作者:
- 程序设计实验室
- 版权声明:
- 本博客所有文章除特别声明外,均采用 BY-NC-SA 许可协议。转载请注明出处!
相关文章
个人数据保全计划:(2)NAS基础知识
前言 距离去年国庆入手了NAS至今有好几个月时间了,NAS折腾起来有点麻烦,且实际作用因人而异,并没有想象中的好用,所以说好的这个系列一直没有更新~ 还有另一方面的原因,这些NAS的系统基于Linux深度定制,对于我这种习惯用Linux的人来说,用着很别扭不自在,处处受限制… 所以在使用了这台威联通的NAS几个月后,我决定把系统重装成正常的Linux Server系统,或者Proxmox VE,真
2023-03-12 · 个人数据保全计划 · 约 1 分钟
个人数据保全计划:安装本地DNS
SmartDNS SmartDNS 是一个运行在本地的 DNS 服务器,它接受来自本地客户端的 DNS 查询请求,然后从多个上游 DNS 服务器获取 DNS 查询结果,并将访问速度最快的结果返回给客户端,以此提高网络访问速度。 SmartDNS 同时支持指定特定域名 IP 地址,并高性匹配,可达到过滤广告的效果。 与 DNSmasq 的 all-servers 不同,SmartDNS 返回的是访问
2022-11-12 · 个人数据保全计划 · 约 1 分钟
个人数据保全计划:安装Jellyfin
选择镜像:nyanmisaka/jellyfin Jellyfin中国特供版+Docker镜像,含驱动,免折腾开箱即用:https://post.smzdm.com/p/a3gw6g47/ 使用 docker-compose 部署 cd /share/Container/docker-apps/jellyfin mkdir cache config docker命令 docker run -d -
2022-11-04 · 个人数据保全计划 · 约 1 分钟
个人数据保全计划:部署joplin server笔记同步服务
在这个数据爆炸的时代,个人数据的价值愈发凸显,成为我们生活与工作中无可替代的重要资产。上一篇文章里,我介绍了从印象笔记迁移至 Joplin 的过程,这是我寻求数据自主掌控的关键一步。在探索同步方案时,我尝试了 OneDrive,原以为它能提供稳定高效的同步服务,可实际使用时却发现它对小文件缺乏优化,同步速度极慢,极大影响了使用体验。虽说目前还不确定是否存在数据丢失问题,但这样的效率实在难以满足我的
2025-02-02 · 个人数据保全计划 · 约 1 分钟
讨论
共 0 条加载评论中…