

Configure Django-TinyMCE Component to Support Image Upload
Django's built-in Admin backend is easy to use, and TinyMCE as a rich text editor is also quite handy. Combining the two is convenient when building a blog (of course, blogs might be better suited to Markdown), but the Django-TinyMCE component does not support image upload by default, so we need to implement it ourselves. This article will walk you through implementing this image upload feature step by step. Readers can also apply the same approach to implement other features that need to be integrated with Django. Writing the image upload logic Add the following code in any views.py:
目录8 个章节
Django's built-in Admin backend is easy to use, and TinyMCE as a rich text editor is also quite handy. Combining the two is convenient when building a blog (of course, blogs might be better suited to Markdown), but the Django-TinyMCE component does not support image upload by default, so we need to implement it ourselves. This article will walk you through implementing this image upload feature step by step.
Readers can also apply the same approach to implement other features that need to be integrated with Django.
Writing the Image Upload Logic
Add the following code in any views.py:
import os

from django.conf import settings
from django.http import JsonResponse
from django.utils import timezone
from django.views.decorators.csrf import csrf_exempt

@csrf_exempt
def upload_image(request):
    if request.method == "POST":
        file_obj = request.FILES['file']
        file_name_suffix = file_obj.name.split(".")[-1]
        if file_name_suffix not in ["jpg", "png", "gif", "jpeg", ]:
            return JsonResponse({"message": "错误的文件格式"})

        upload_time = timezone.now()
        path = os.path.join(
            settings.MEDIA_ROOT,
            'tinymce',
            str(upload_time.year),
            str(upload_time.month),
            str(upload_time.day)
        )
        # 如果没有这个路径则创建
        if not os.path.exists(path):
            os.makedirs(path)

        file_path = os.path.join(path, file_obj.name)

        file_url = f'{settings.MEDIA_URL}tinymce/{upload_time.year}/{upload_time.month}/{upload_time.day}/{file_obj.name}'

        if os.path.exists(file_path):
            return JsonResponse({
                "message": "文件已存在",
                'location': file_url
            })

        with open(file_path, 'wb+') as f:
            for chunk in file_obj.chunks():
                f.write(chunk)

        return JsonResponse({
            'message': '上传图片成功',
            'location': file_url
        })
    return JsonResponse({'detail': "错误的请求"})
Configuring Routes
urlpatterns = [
    # 上传图片
    path('upload_image/', views.upload_image),
    # tinymce 编辑器
    path('tinymce/', include('tinymce.urls')),
]
Configuring tinymce
Since tinymce is a frontend component, it needs to be configured using js.
Add a js file under the static/tinymce/js directory (please create the directory manually if it does not exist). The name can be anything; here I use textareas.js:
tinymce.init({
    selector: 'textarea',  // change this value according to your HTML
    images_upload_url: '/upload_image/', // Django路由中图片上传地址
    height: 500,
    plugins: [
        'advlist autolink lists link image charmap print preview anchor',
        'searchreplace visualblocks code fullscreen',
        'insertdatetime media table paste code help wordcount'
    ],
    menubar: 'favs file edit view insert format tools table help',
    toolbar: 'undo redo | formatselect | ' +
        'bold italic backcolor | alignleft aligncenter ' +
        'alignright alignjustify | bullist numlist outdent indent | ' +
        'code image | ' +
        'removeformat | help',
    language: 'zh_CN',
});
In this configuration I added some plugins, tweaked the menu bar and toolbar based on the official documentation, and changed the display language to Chinese (the default is English).
Note the images_upload_url inside — this is the route we just configured for the image upload logic.
For TinyMCE configuration, you can refer to the official documentation: https://www.tiny.cloud/docs/demo/basic-example/
Configuring in admin
Finally, we need to configure the custom js in the admin that uses TinyMCE for the previous configuration to take effect.
Sample code is as follows; just configure it according to your actual model.
@admin.register(models.Activity)
class ActivityAdmin(admin.ModelAdmin):
    list_display = ['pk', 'title']

    class Media:
        js = [
            'tinymce/jquery.tinymce.min.js',
            'tinymce/tinymce.min.js',
            'tinymce/js/textareas.js'
        ]
Testing
With the configuration above, you're done. It should work now — open the admin backend and give it a try where there are tinymce fields~
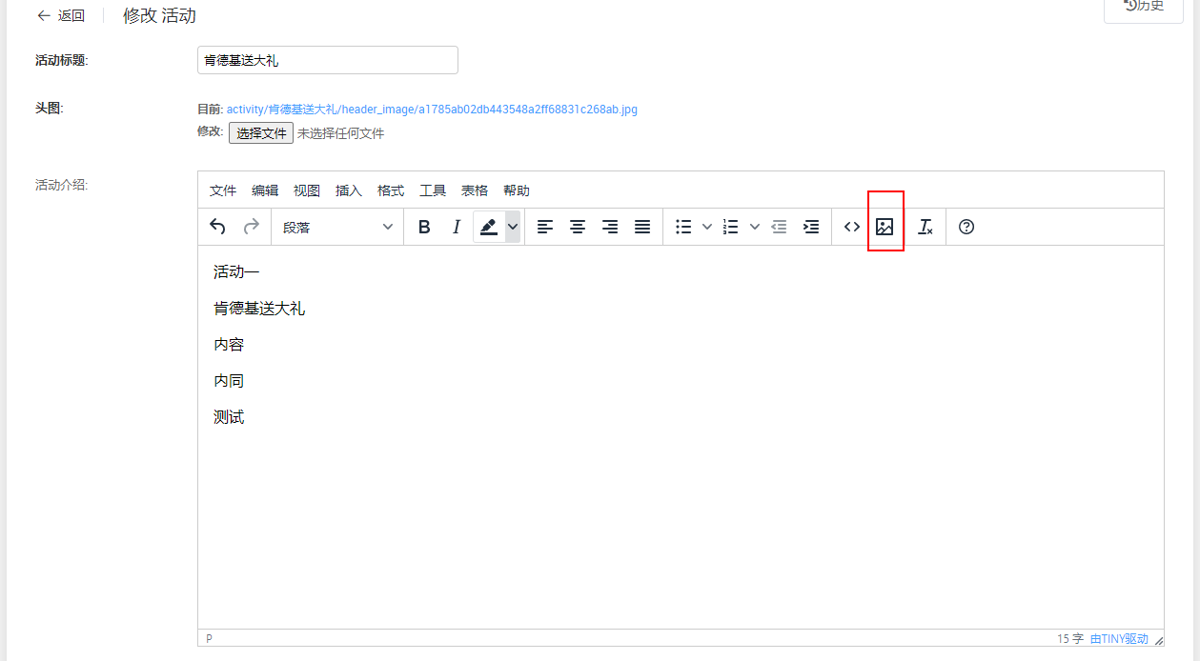
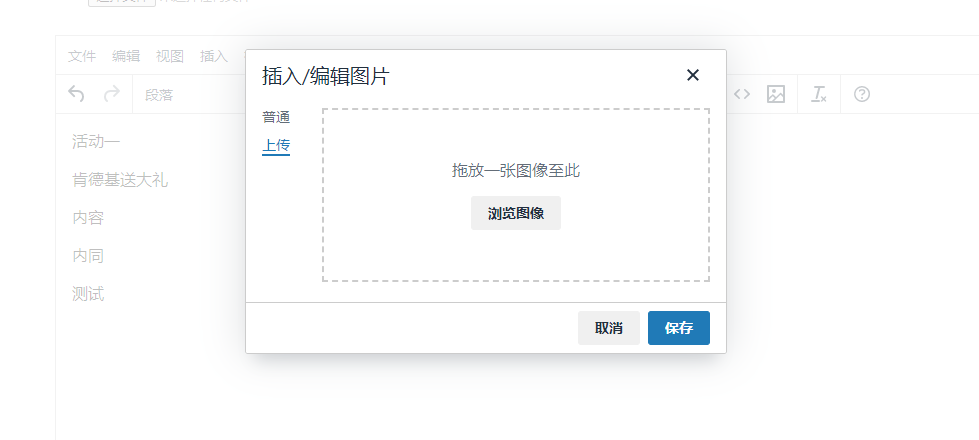
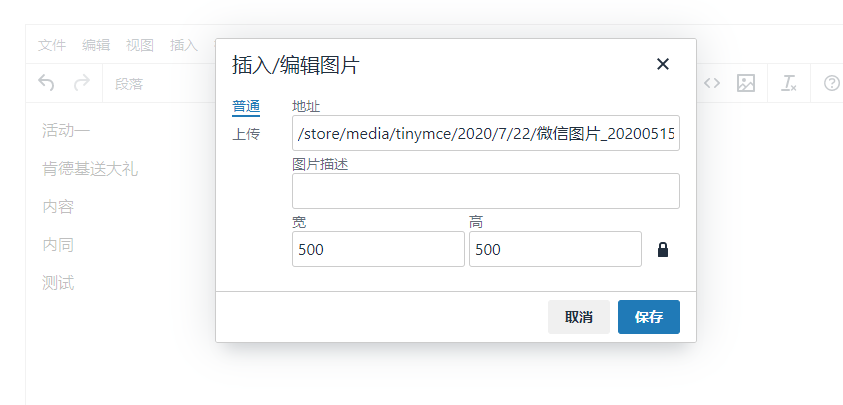
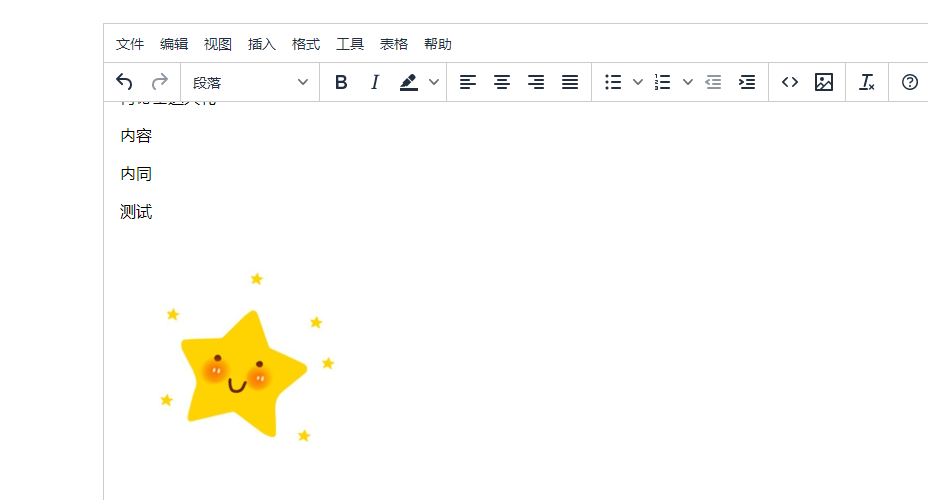
Looks OK~
Update on December 7, 2021 16:51:36
After uploading images, when you reopen a saved article you'll find that the image links have all become relative links. At this point you need to configure TinyMCE to use absolute paths.
Reference: https://blog.csdn.net/huffmans/article/details/84381481
Add a line convert_urls :false, // 存储URL的原始值 in the previous static/tinymce/js, and that should do it.
References
- Integrating tinymce into django admin with image upload support
- Using tinyMCE image upload in Django
- Local image upload for tinymce under Django
Welcome to Discuss
I've compiled a series of technical articles and materials. Reply with linux, flutter, c#, netcore, android, kotlin, java, python, etc. in the backend of the WeChat official account "Programming Lab" to get related technical articles and materials. If you have any questions, you can also leave a message in the official account backend~
_EOF_
Configure Django-TinyMCE Component to Support Image Upload
- 本文作者:
- 程序设计实验室
- 版权声明:
- 本博客所有文章除特别声明外,均采用 BY-NC-SA 许可协议。转载请注明出处!
相关文章
Django+Logging:日志记录配置与使用方法
前言 日志在程序开发中是少不了的,通过日志我们可以分析到错误在什么地方,有什么异常。在生产环境下有很大的用途。在Java开发中通常用log4j,logback等第三方组件。那么在django中是怎么处理日志?django利用的就是Python提供的logging模块,但django中要用logging,还得有一定的配置规则,需要在setting中设置。 Logging模块 Logging模块为应用
2022-04-02 · Django · 约 1 分钟
关于uwsgi服务器的管理
前言 使用Django开发项目好是好,就是部署的时候太麻烦,使用Uwsgi服务器的话,每次修改了代码,都需要重新启动服务器才可以生效。然后uwsgi服务器的重启也挺麻烦。 看了一下官网的文档,最好是把uwsgi安装到venv虚拟环境里面,这样的话在 ps aux 的时候容易区分啦。 查看uwsgi进程 ps -aux | grep uwsgi 结束原uwsgi进程 kill -9 27543 结论
2025-10-27 · Django · 约 1 分钟
如何优雅地在Django项目里生成不重复的ID?
在生成唯一 ID 这件事上,Django 和其他后端框架没啥不同的,思路都是类似的,只不过可以借助 Python 生态偷懒一下…
2024-12-08 · Django · 约 1 分钟
一小时完成后台开发:DjangoRestFramework开发实践
DjangoRestFramework开发实践 在这之前我写过一篇关于Django与Drf快速开发实践的博客,Django快速开发实践:Drf框架和xadmin配置指北,粗略说了一下Drf配置和基本使用,不过里面只是涉及到最基本的CRUD,在正常的后端开发中涉及的诸如认证和权限、消息队列、缓存之类的操作,上一篇博客并没有涉及,这次开发我仔细了看了官方文档的这几个部分,把这部分的功能完善了起来。 D
2021-12-18 · Django · 约 1 分钟
讨论
共 0 条加载评论中…