Did a thorough cleaning for the computer and NAS.
The article documents the author's thorough cleaning of the desktop computer and NAS after moving. Due to long-distance transportation, the machines accumulated significant dust, prompting the author to disassemble and clean them, replace the thermal paste, and focus on cleaning components like the fans and motherboard. After cleaning, the machines run more quietly and have better heat dissipation. However, the desktop computer lost one chassis foot during transport, and the author is preparing to replace it. Although the cleaning process was laborious, the results were remarkable, rejuvenating the aging equipment.
目录12 个章节
Foreword
I'm exhausted from the recent move
After taking apart and packing my desktop PC and NAS, I had them transported here via a cargo moving service
Tips: When a desktop computer needs long-distance transport, you must remove components like the graphics card, cooler, and RAM to prevent damage from vibrations during transit
When I was about to reassemble them, I noticed both machines were incredibly dusty, with thick layers of grime
So I decided to give them a thorough "spring cleaning"—completely removing all the dust and reapplying thermal paste
Prepare the Tools
Since I was ready to go, I immediately ordered compressed air and thermal paste.
This is my first time using compressed air; before, I'd only used it in PC-building simulators. I feel like it'll be very satisfying for dust removal.
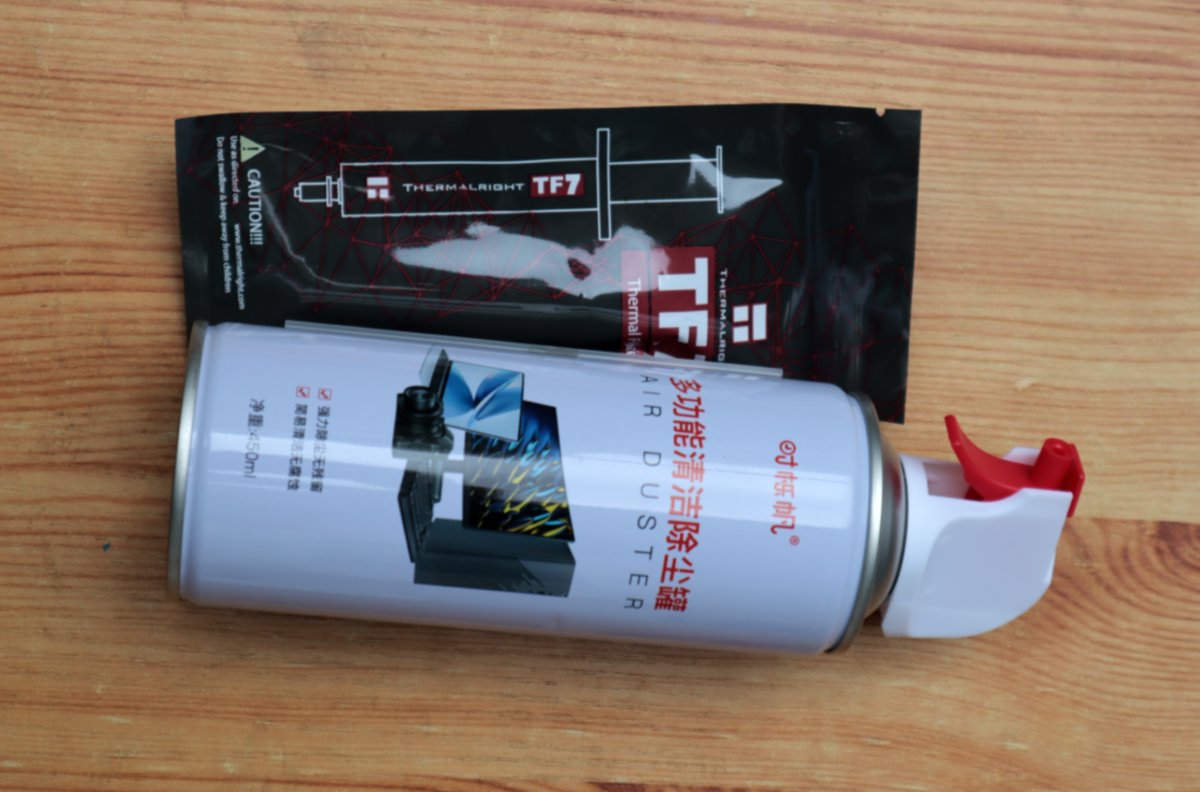
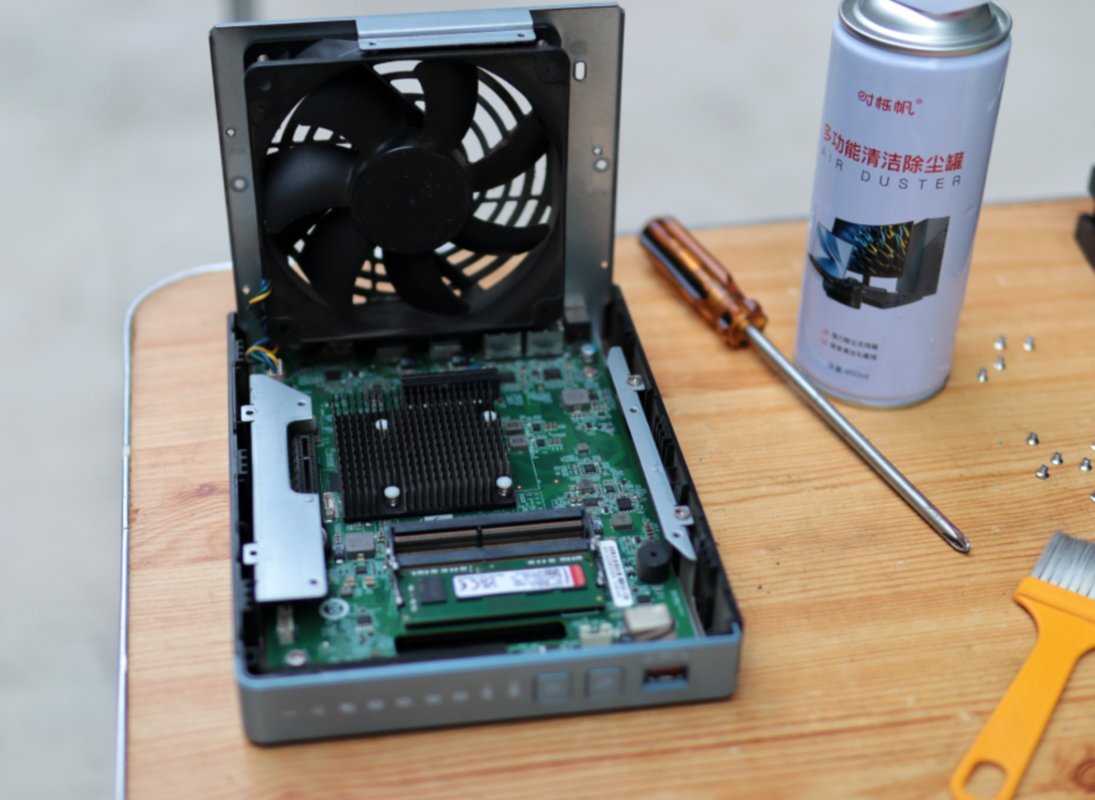
Besides these two, there are also a small brush and an air blower, all essential tools for cleaning dust.
Here’s a special shot of them.
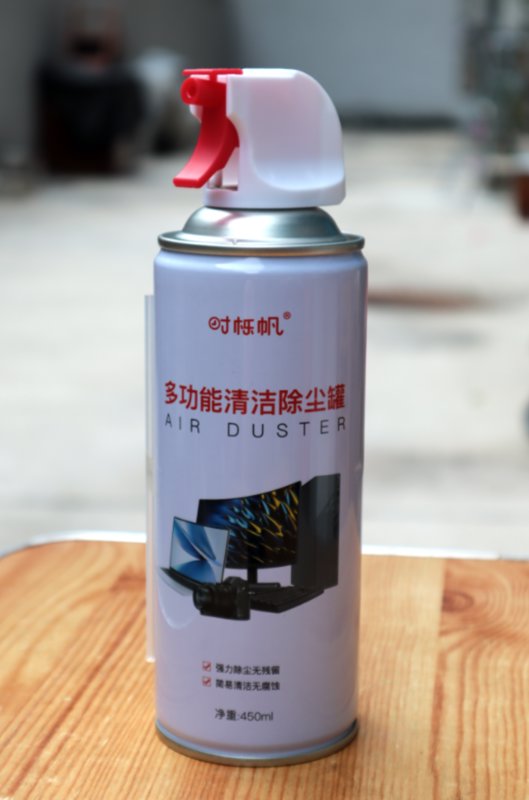
This is the thermal paste.
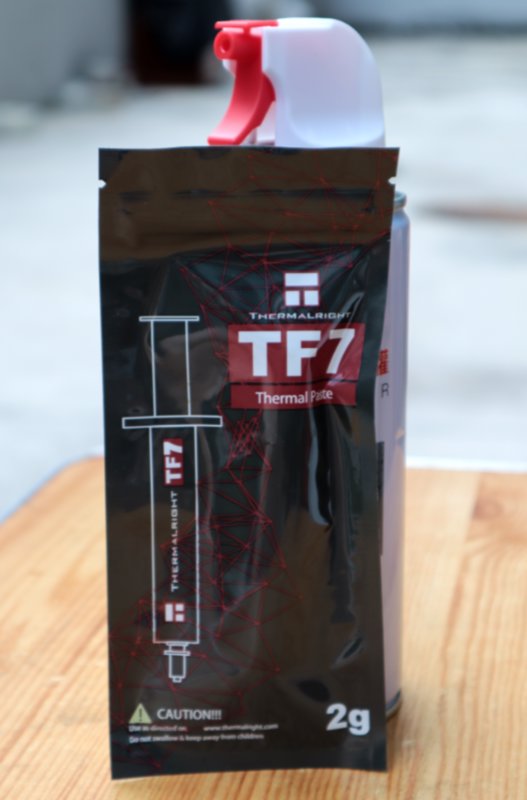
NAS
First, let's clean up the dirtiest NAS.
This NAS I have is a QNAP TS464C bought a few years ago. I even wrote an article about it back then: Personal Data Preservation Plan: (1) NAS Unboxing
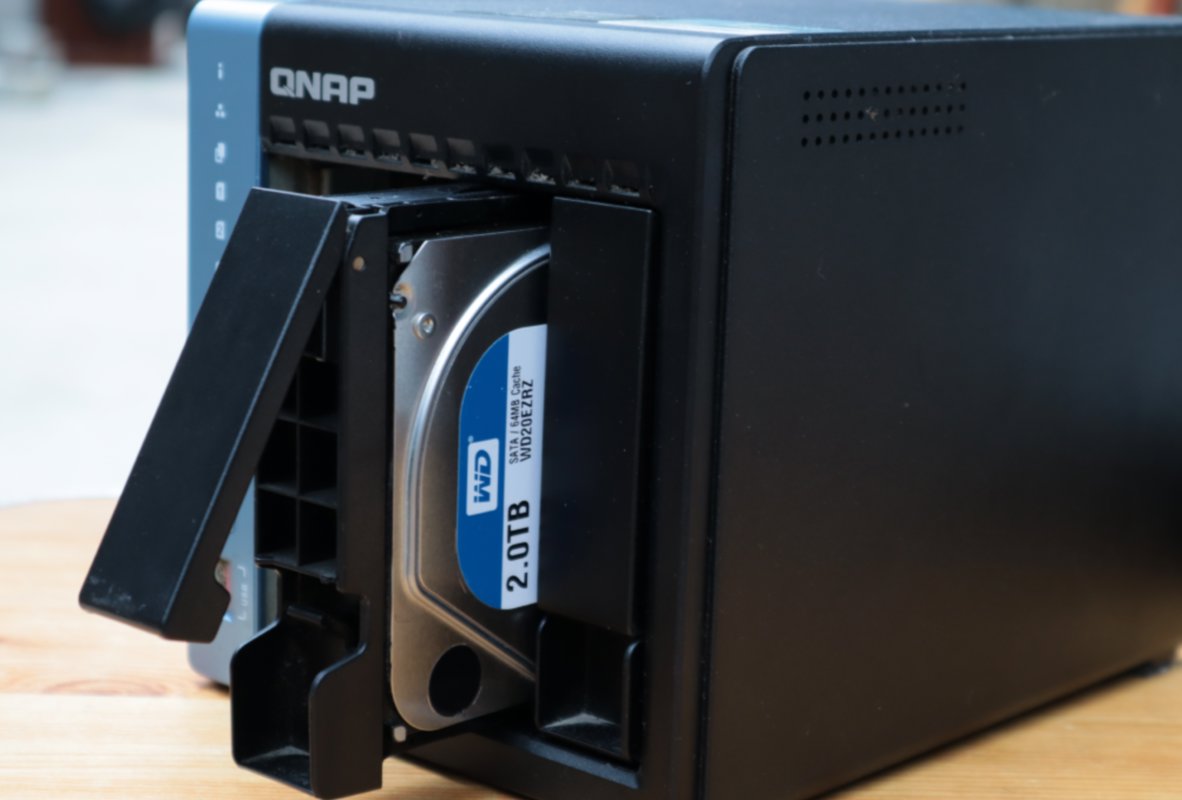
Disassembly
Remove the screws from the casing
By sliding it, the casing can be removed
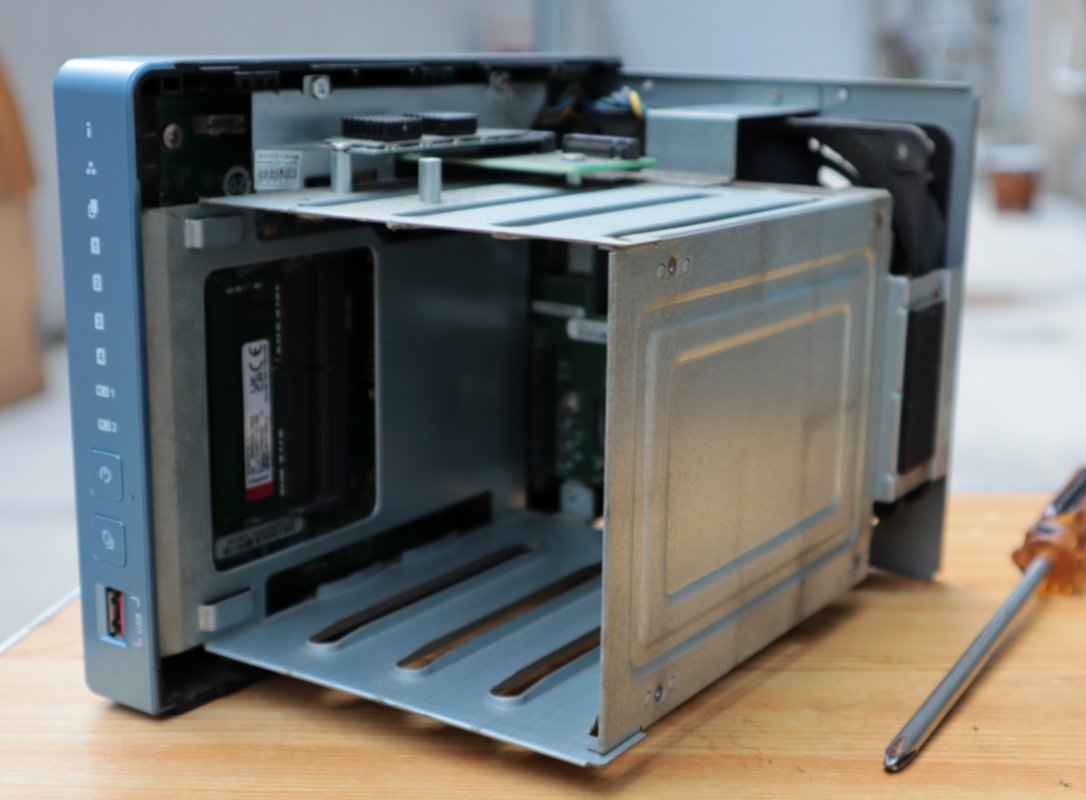
Remove the metal frame securing the hard drive to reveal the motherboard
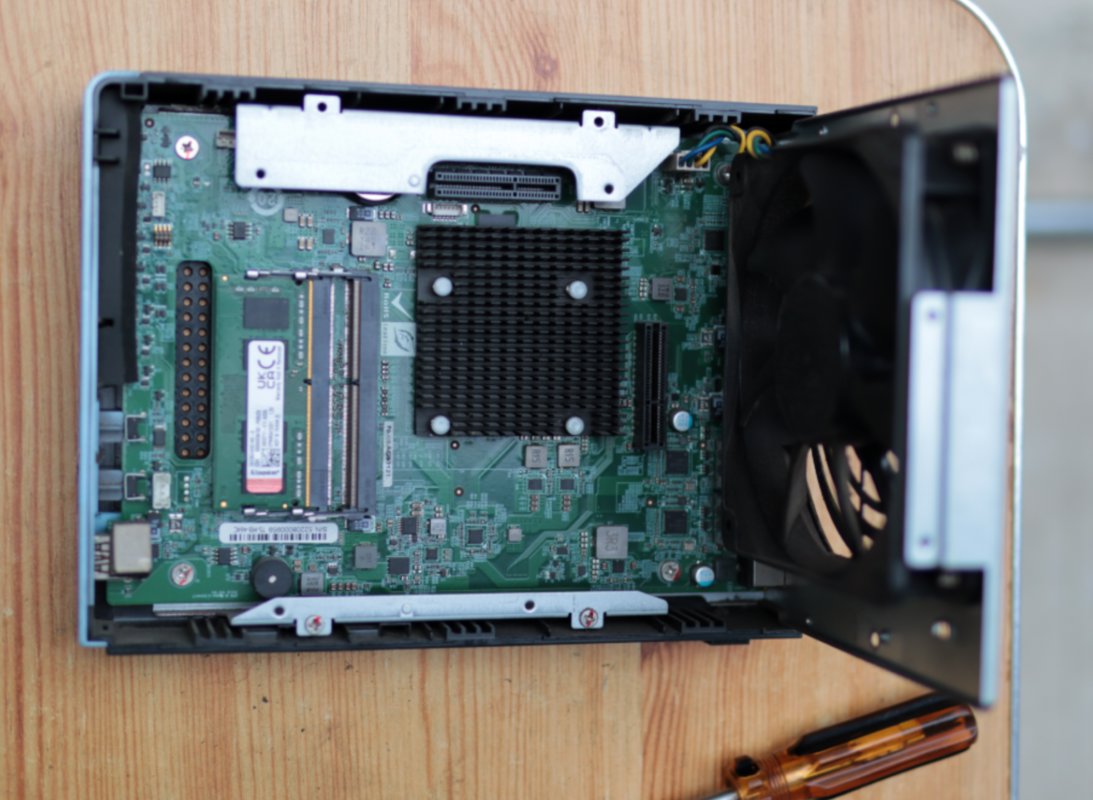
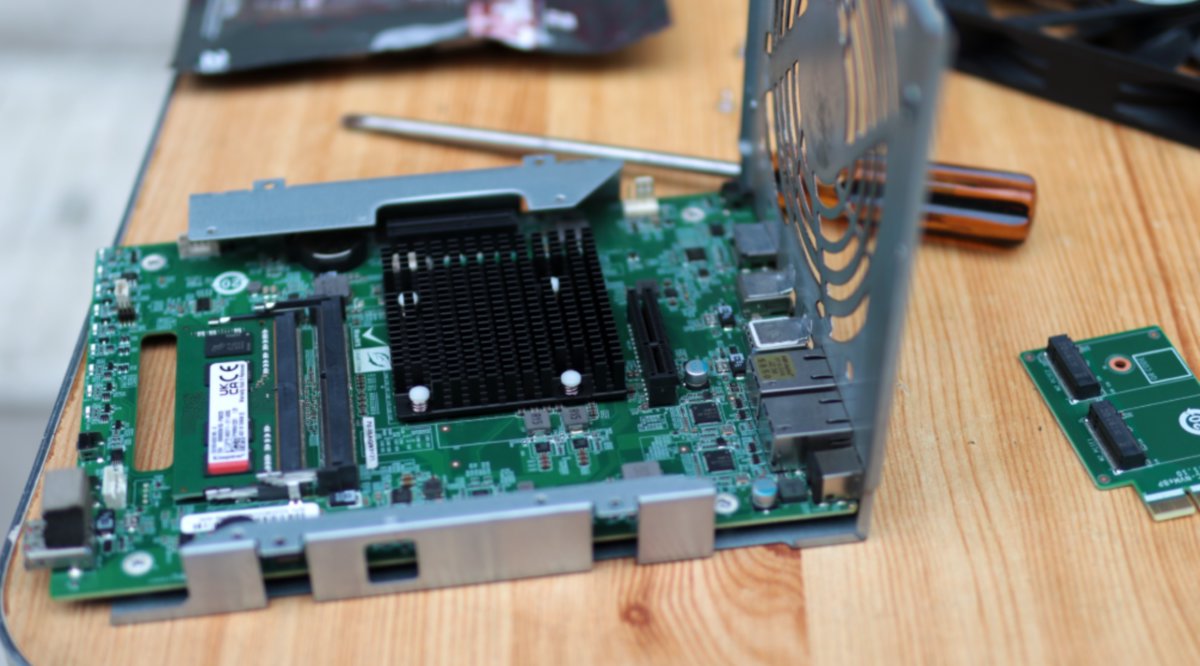
I didn't expect the CPU to have no fan; it is cooled by the heatsink (散热片)
Look at how dirty this fan is, covered in a thick layer of dust
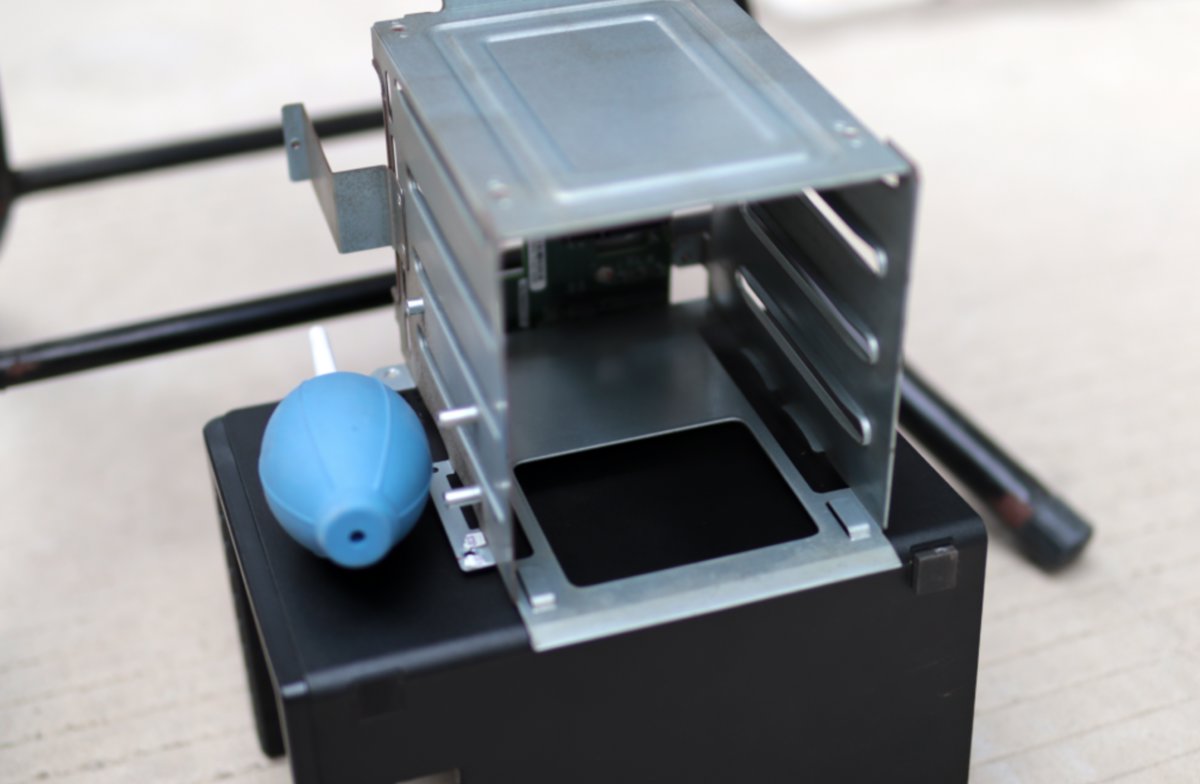
The removed metal casing looks like this
Fan
The fan is the focus of cleaning
Too much dust can prevent the fan from spinning, reducing its cooling effectiveness.
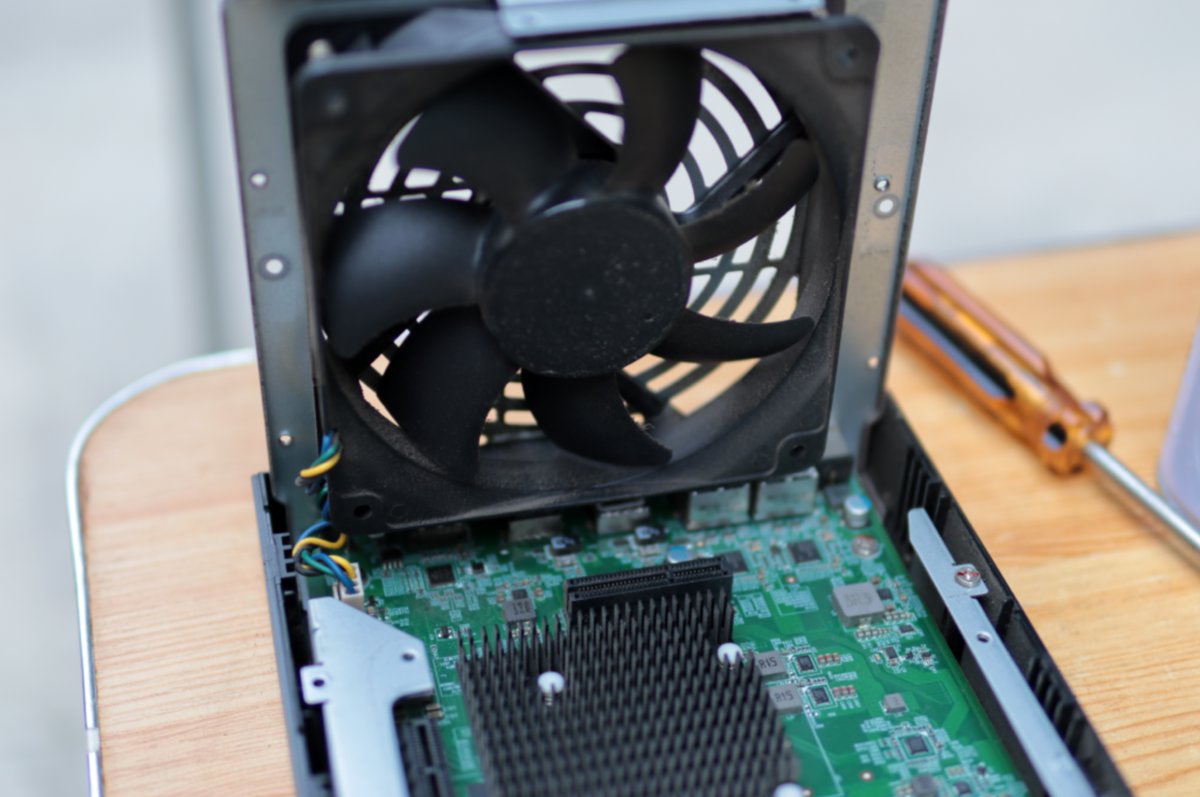
From a different angle
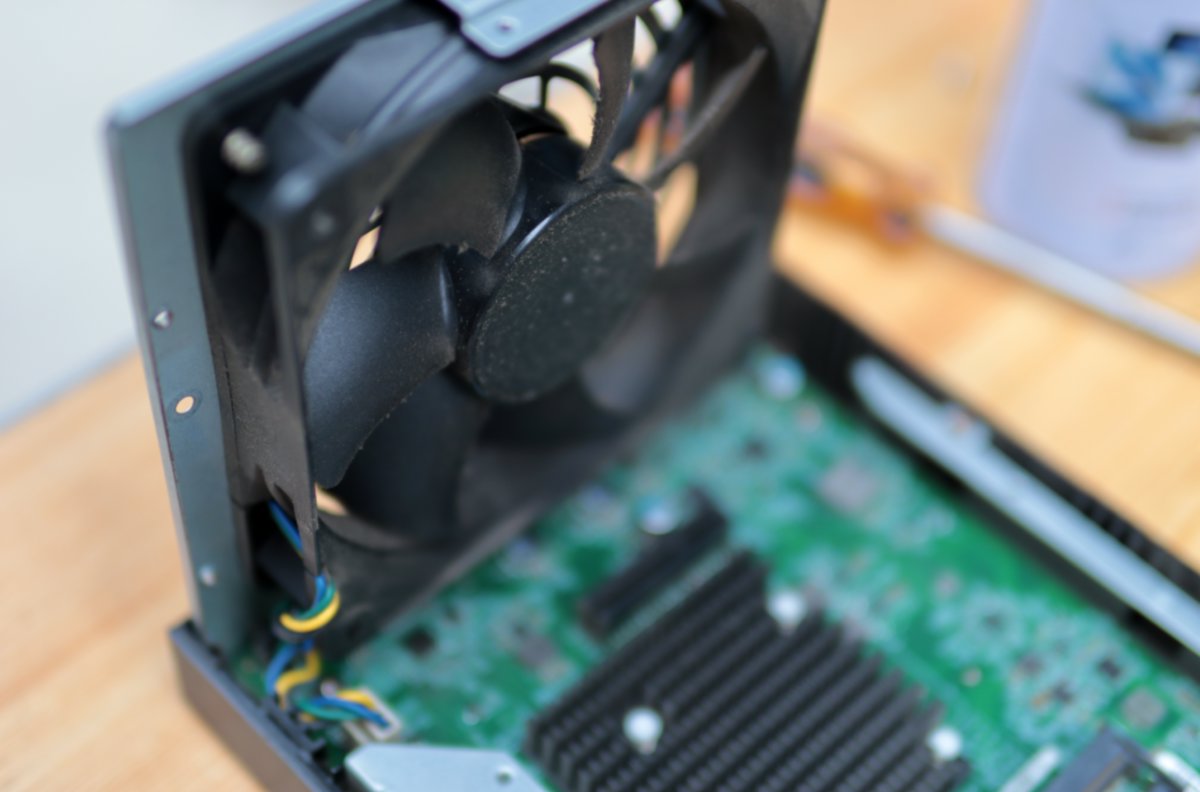
After disassembly
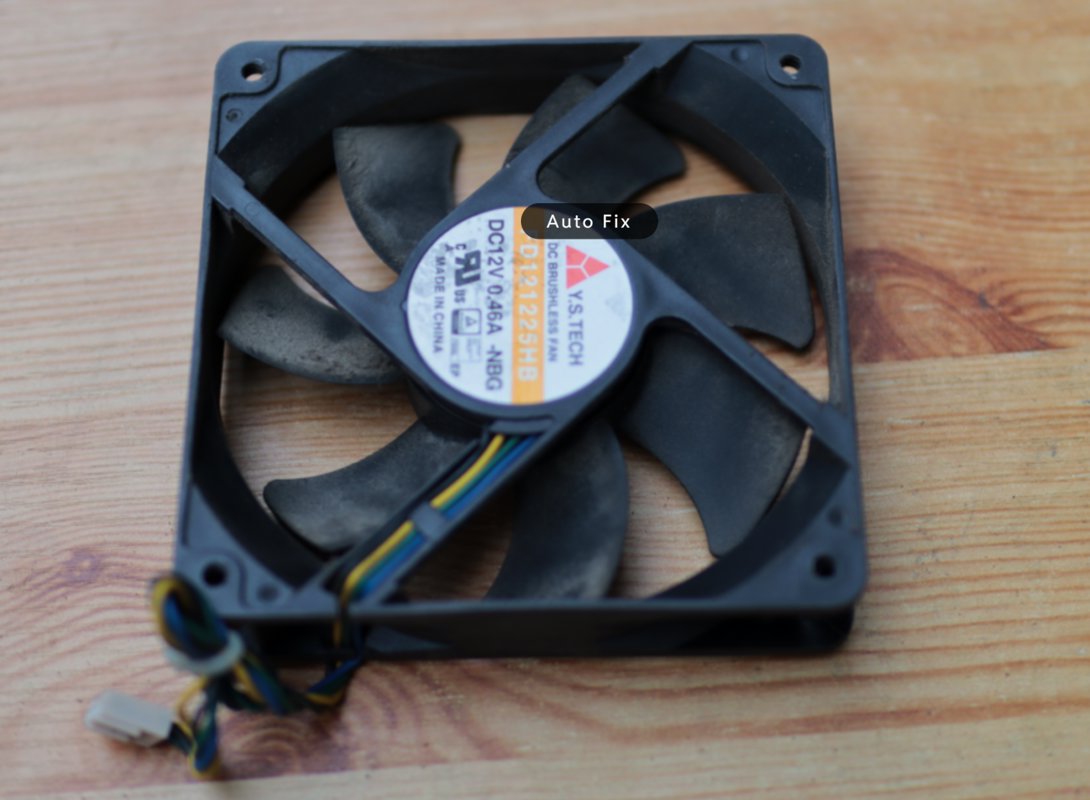
Other Components
Motherboard
The motherboard also requires dust removal to enhance its heat dissipation capability.
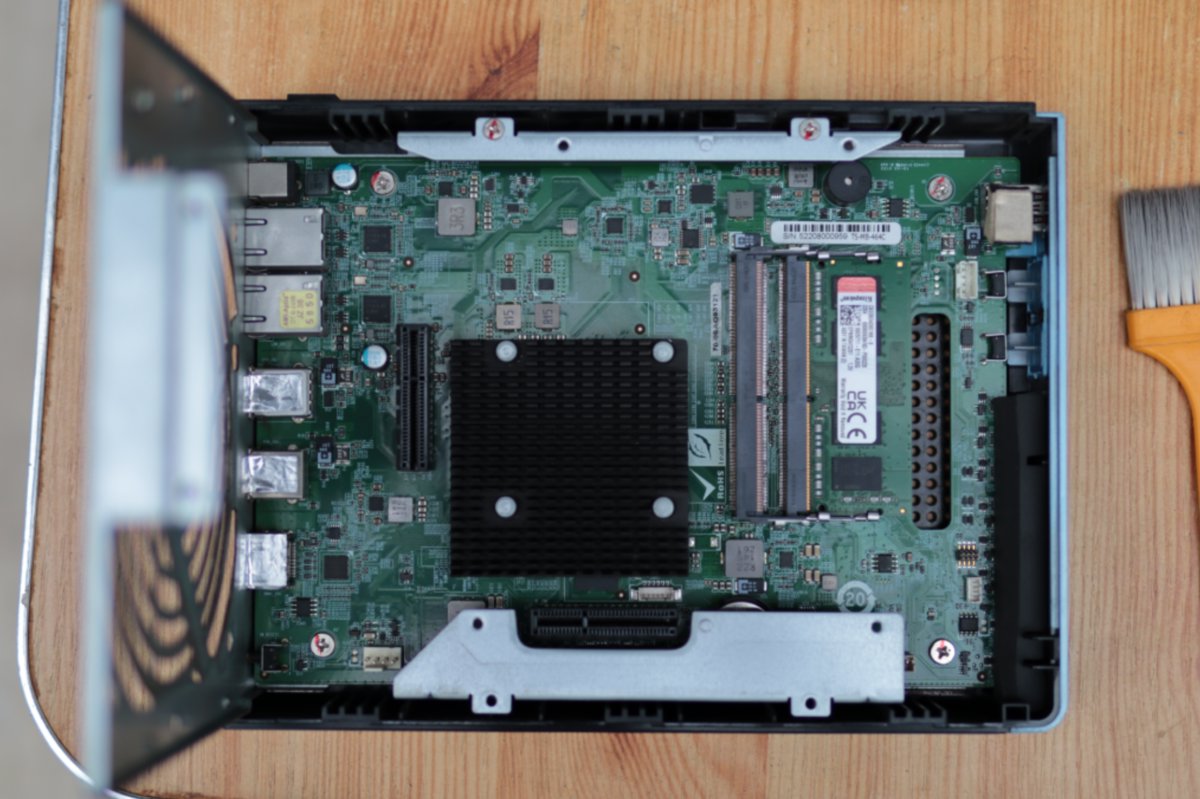
From a different angle
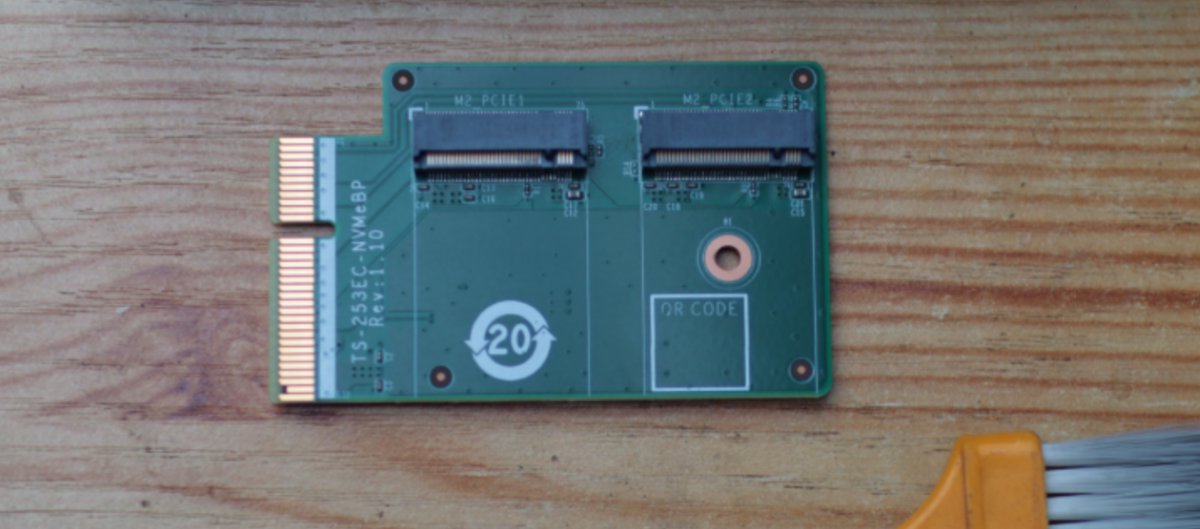
M.2 SSD Expansion Card
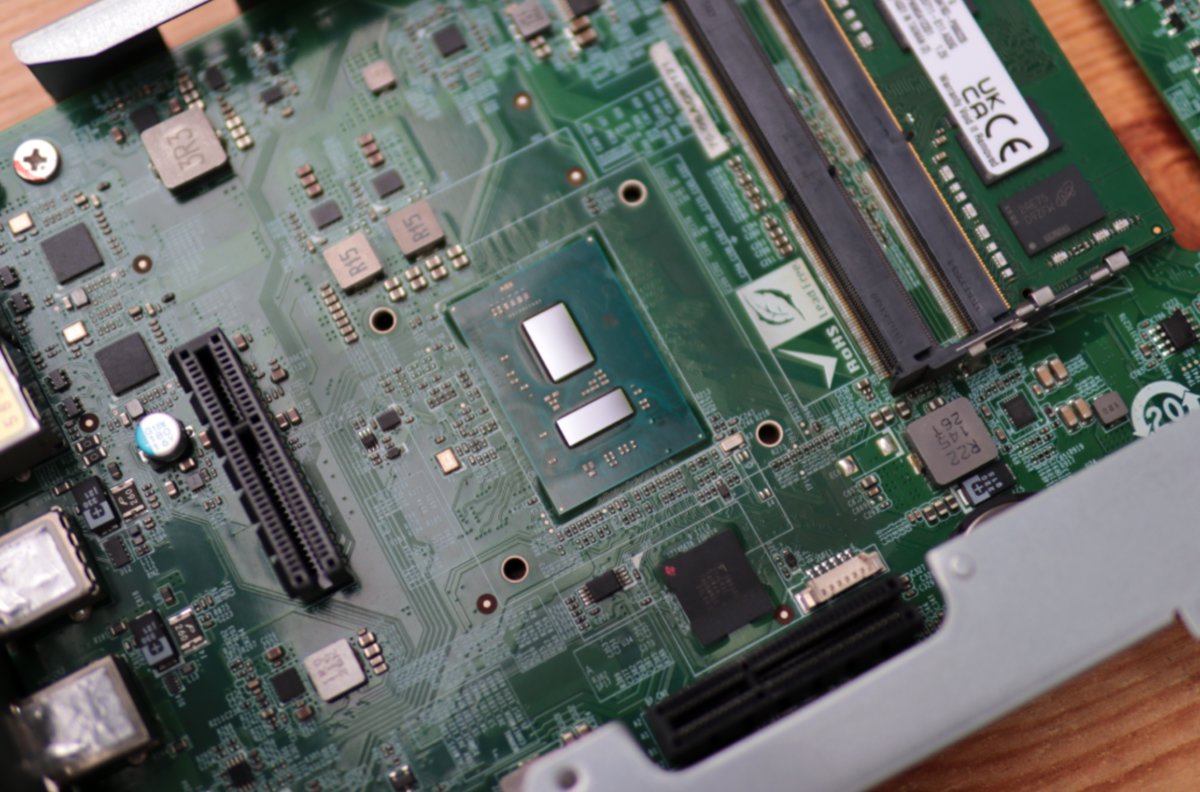
CPU
The heatsink requires removing four plastic pins on the back of the motherboard—just press with a flathead screwdriver to detach it.
After removal, you can see the CPU's thermal paste (硅脂) has completely dried out.
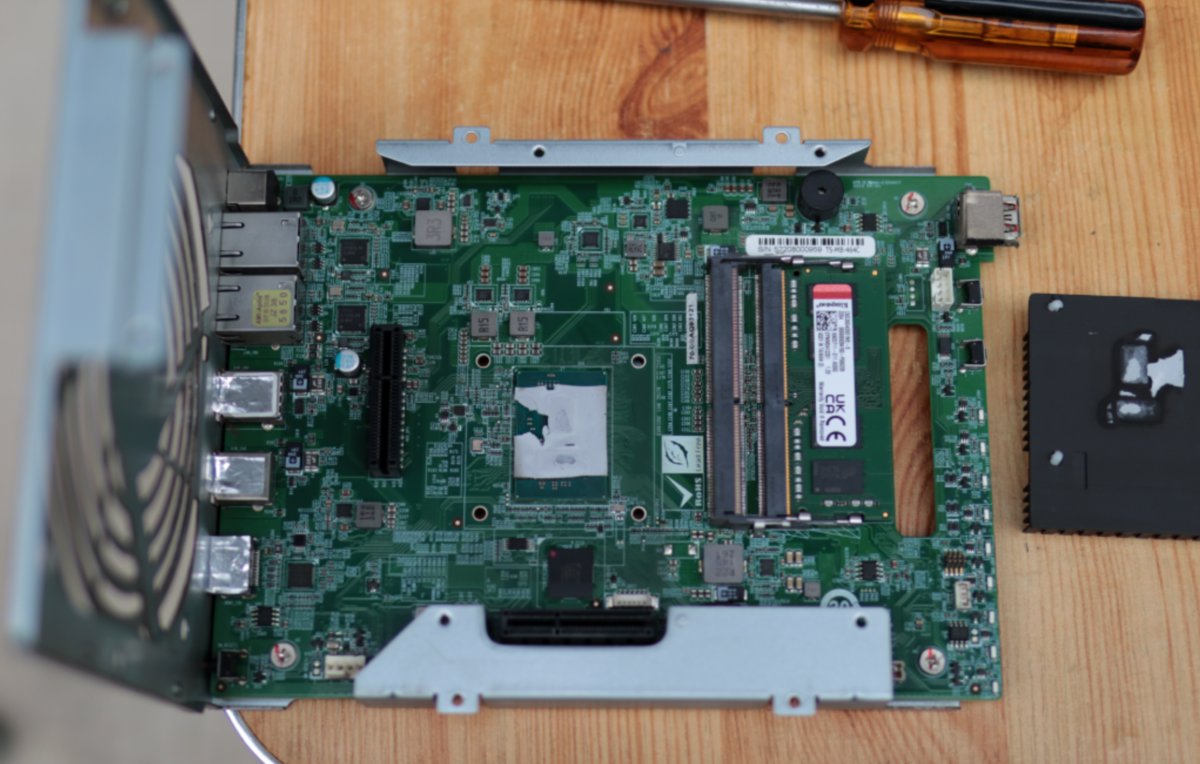
First, clean off the old thermal paste thoroughly.
Take out the thermal paste and the small tool, and prepare to apply the thermal paste.
![image-20250606001541963]
Actually, you don’t necessarily need to use this scraper either.
Once applied, just press down with the heatsink, and you’re good to go.
Summary
With that, the NAS major cleaning is complete. The next step is to put all the components back together.
Be careful not to finish the assembly and realize you have a few extra screws left over! 😃
However, after I put it back together, I found I had installed a few screws in the wrong places 😂. But it shouldn't be a big problem—as long as it fits, it's fine~
After cleaning the dust and replacing the thermal paste, the biggest difference is the quietness. This NAS has been in use for several years, and the noise had increased, with quite noticeable heat generation.
As you can see from the disassembly, the CPU doesn't have a fan. Therefore, after prolonged use, once the thermal paste dries out, the heat output becomes significantly higher.
Desktop
This was relatively simple, no major issues.
The thermal paste was indeed dried out; during the last transport, I didn't replace it, which often caused overheating and crashes.
After clearing the dust and replacing the thermal paste this time, it's much quieter and generates less heat.
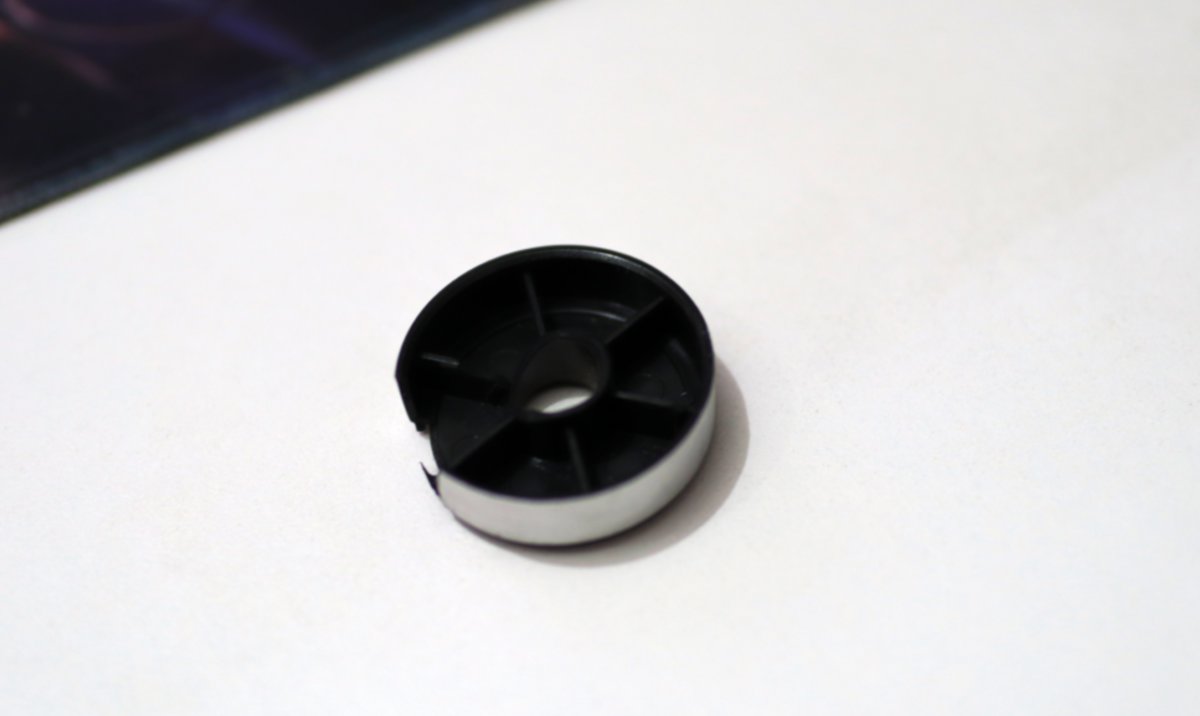
However, I noticed that Huolala seems to have damaged one of my desktop's feet. 😂
![image-20250606002409364]
I found the broken foot inside the cardboard box.
The middle part snapped off and is beyond repair.
I've already opened the shopping app and started browsing for a new computer case. 😂
Summary
After the 14x was sent for repair last time, many netizens said that there was too much dust in my machine causing cooling issues.
Now I pay more attention to the issue of dust removal and cooling. After giving the machine a thorough cleaning, the improvement was indeed very noticeable, though I was completely exhausted... 😂
_EOF_
Did a thorough cleaning for the computer and NAS.
- 本文作者:
- 程序设计实验室
- 版权声明:
- 本博客所有文章除特别声明外,均采用 BY-NC-SA 许可协议。转载请注明出处!
相关文章
AI时代的全栈框架:独立开发者的机会与挑战
独立开发者终于能全干了?AI帮忙还愁生态?一体性是王道,但选什么框架还得自己纠结。AI写代码真靠谱?
2025-09-12 · 2025 · 约 1 分钟
LCD 手机老兵不死:iQOO Neo5 活力版降级 OriginOS 1 的一天
四年前的iQOO Neo5活力版还流畅?活该vivo售后劝降级时一脸懵逼。自己动手降级到OriginOS 1.x才叫本事,还特么要自己找旧版App?这手机明明够用,非要作死逼人换新机。
2025-11-14 · 2025 · 约 1 分钟
被售后劝退一次后,我终于还是把电池换了,LCD旧旗舰满血复活
售后那套“换电池没用”的说辞也就忽悠小白。自己动手降级系统再换块电池,LCD旧机续航直接翻倍——所以厂商到底在急什么?看来这机子还能再战三年。
2025-12-01 · 2025 · 约 1 分钟
硬盘突然坏掉,我花了半个月才把数据救回来…(附数据恢复工具)
硬盘崩了?数据恢复折腾半个月,最后捡回大部分残骸。MFT坏了只能干瞪眼?先镜像再扫描,工具堆里找活路。备份?下次记得多来几个副本,别等丢完才叫苦。
2025-09-27 · 2025 · 约 1 分钟
讨论
共 0 条加载评论中…